4.3.5. Adding a Custom Logo
IRM enables users to upload their own custom logos on the Global Console screen.
Note that this feature is enabled only for Administrator IRM users.
Important,
the uploaded image must not exceed the following height to width ratio: 8:5 e.g if an image is 800px wide, then it cannot exceed 500px in height.
the uploaded image must not exceed the following height to width ratio: 8:5 e.g if an image is 800px wide, then it cannot exceed 500px in height.
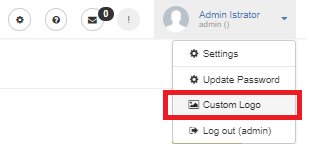
Adding a custom logo is done by selecting the Custom Logo item in the Global Console user menu:

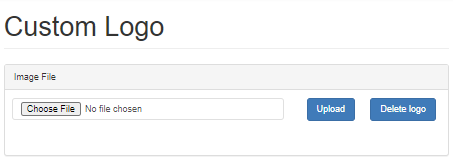
This redirects the browser to another page which enables uploading or removing a custom logo fle. First, click on the Choose File button, which brings up the standard browser "File upload" dialog:

After file selection, click on the Upload button. Upon a successful upload, the logo image automatically appears in the top-left corner of the page and a message about the custom logo upload appears below the Image File box:

Note: Only .jpg and .png image formats are supported. In the event that some other image format is uploaded, the operation will fail with the following warning message:
Upon a successful upload, the custom logo replaces the existing logo (an IRM logo by default) in the top-left corner and is scaled to allocated height (which is a fixed value), while preserving its aspect ratio.
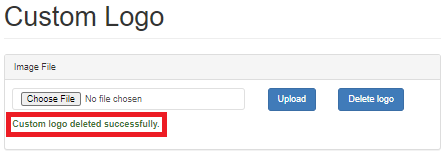
If you want to remove the uploaded logo, click on the Delete logo button (next to the Upload button). This reverts back to the default Planet Associates logo, and a message below the Image File box confirms the removal:
