Assigning Projects and MACs
The IRM Ticket capability can be used standalone, or in conjunction with an external system such as BMC Remedy or ServiceNow. This section assumes that the Tickets involved are for use with BMC.
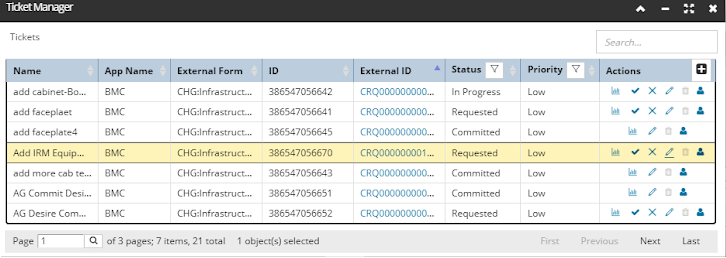
 Open the Ticket Manager dialogIn the IRM Web Client, locate the dedicated Ticket Manager icon near the top-right corner of the main screen:
|
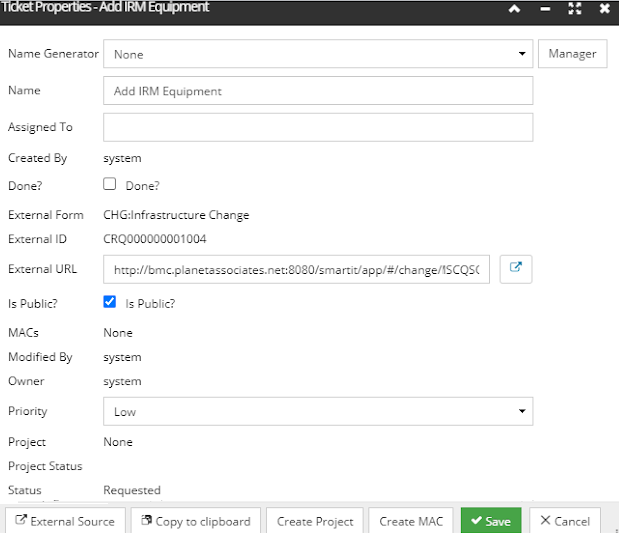
 Open the Ticket Properties dialogClicking on the edit (pencil) button under the Actions column for the relevant Ticket entry opens its Ticket Properties dialog:
|
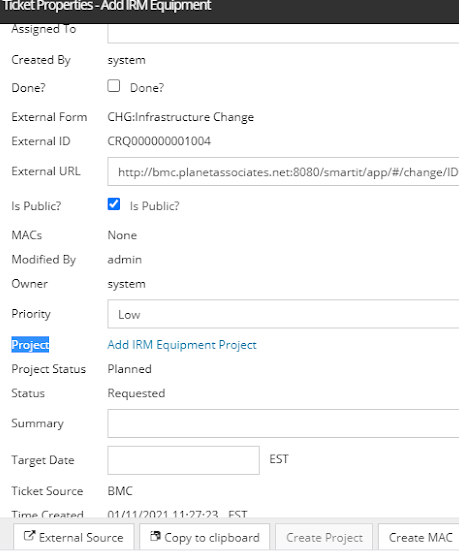
 View the Ticket Information in BMCNext, click the External Source button at the bottom of the Ticket Properties dialog - this opens the BMC Remedy IT Service Management dialog for Change Request Search - if prompted to login, use your BMC credentials to login.
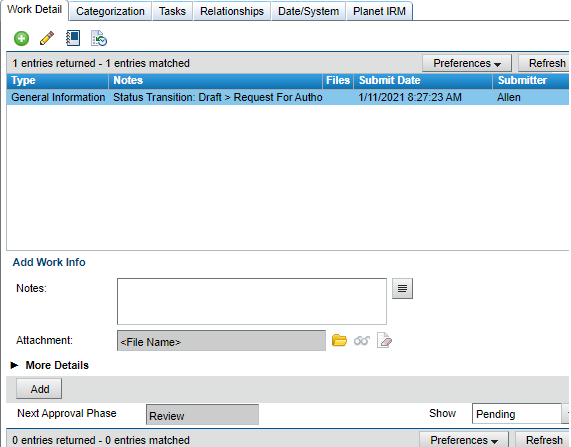
Next, click the Search button in the top left of the BMC dialog, which displays the Ticket Information in BMC:
|
 Copy the IRM TicketRefer back to the IRM Ticket Properties dialog and click the Copy to Clipboard button at the bottom:
|
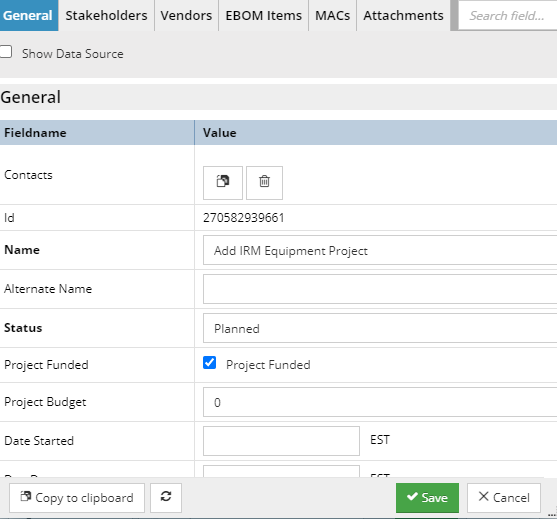
 Create a Project and assign it to the TicketWithout leaving the Ticket Properties dialog, click the Create Project button at the bottom of the dialog. A "Ticket Info Saved" notification appears and the Project Properties dialog opens. In the General tab, enter a Name for the Project and save the newly created Project by clicking on the Save button:
Back in the Ticket Properties dialog, verify the Project name appears as specified:
If so, the newly created Project is assigned to the Ticket.
|
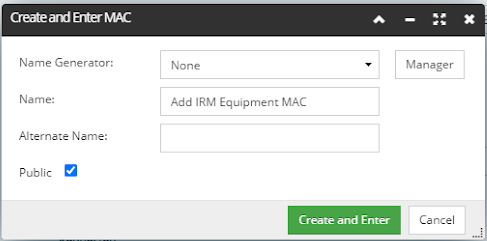
 Create a MAC and assign it to the TicketInside the Ticket Properties dialog, click the Create MAC button. This opens a small sub-dialog, where you should specify the Name for the MAC. Next, click the Create and Enter button:
This closes this sub-dialog and brings back the Ticket Properties dialog, where you should verify the newly created MAC object is visible under the MACs property field:
If so, this confirms the MAC is assigned to the Ticket.
|
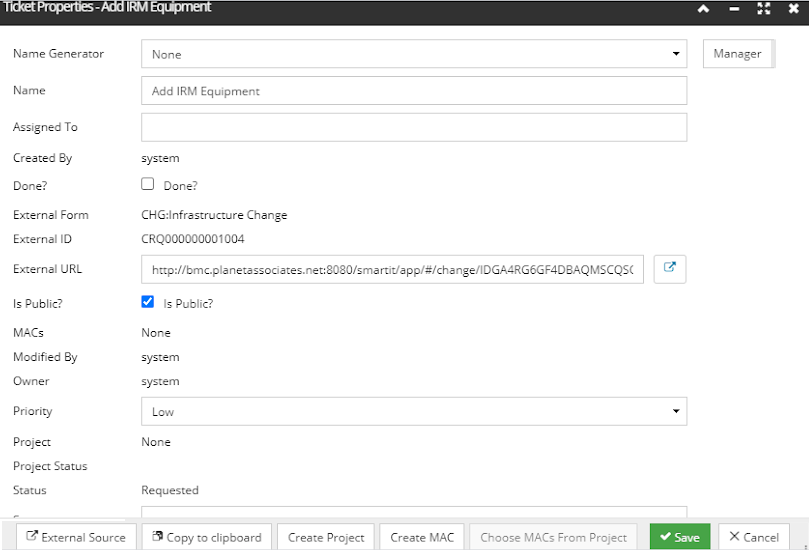
 Create a MAC outside of the Ticket Properties dialog and assign it to the ProjectIt is also possible to create a MAC outside of the Ticket Properties dialog and assign it to the Project created in Step 5. Next, back in the Ticket Properties dialog, click the Choose MACs from Projects button at the bottom.
Inside the popup dialog, select the previously created MAC and click OK:
|
|