The Bulk Add option is useful in cases when multiple Media with the same properties (such as Material and color code) need to be defined. This topic will cover a use case scenario of a Cable Type creation with no Media defined.
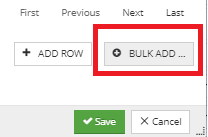
The Bulk Add Media operation is started via the Bulk Add button in the bottom right corner of the Media tab in the Cable Type dialog:
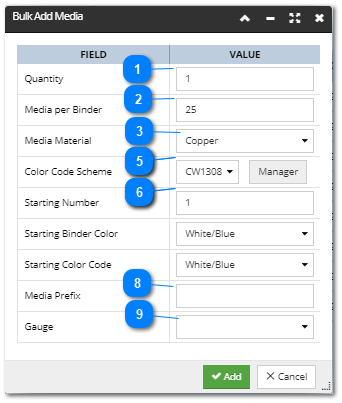
This opens the Bulk Add Media sub-dialog consisting of a simple data grid, with a single field/value pair per row, and some default values pre-entered:
 QuantityThe number of Media to be added, set to 1 by default.
TIP: The value can be changed by typing the value directly, or using the numeric stepper (up/down arrows). This is true for all (alphanumeric) value fields in this dialog and throughout the application.
|
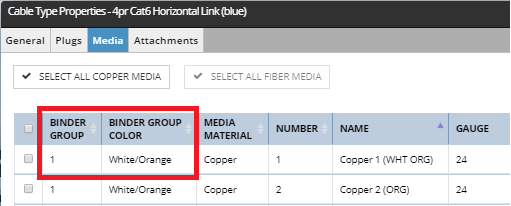
 Media per BinderFor ease of connectivity management, Media are often combined into Binder Groups. Usually, a group of Media (wires or fibers) are bound together by some sort of color-coded plastic tape or thread. Each Media pair within a Binder Group is uniquely named (any alphanumeric value) and color-coded for further ease of management, as shown in the Cable Type Properties - Media tab grid:
|
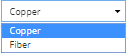
 Media MaterialCan be either Copper (default) or Fiber. Values for the next few properties (Color Code Scheme, Starting Binder Color and Starting Color Code) are automatically set based on this selection.
|
 Color Code SchemeSet by default to one of the Color Code Schemes predefined for the selected Media Material (see next point for more details).
|
 Color Code Scheme ManagerClicking on the Manager button (next to the Color Code Scheme drop-down):
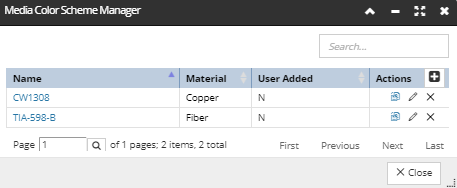
opens the Media Color Scheme Manager dialog, which enables adding, editing, removing user-defined Color Schemes.
Its main part is a data grid listing Media Color Schemes (two built-in Schemes in this example), with one Scheme object per row and the following columns:
-
Media Color Scheme Name, displayed as hyperlink that opens the Media Color Scheme Properties dialog with additional details about the color scheme ( covered in detail in the next point) -
applicable Media Material (Copper or Fiber) -
is the Color Scheme User Added or built-in (Yes or No) -
 - opens a new instance of the Media Color Scheme Properties dialog  - automatically adds a copy of the selected Scheme in the row below it and appends "Copy" to its name  - opens the Properties dialog for editing the selected Scheme (button is disabled for built-in Scheme objects)  - removes the selected Scheme object (button is disabled for built-in Scheme objects)
TIP: The Search box and grid pagination convenience features also shown above can be useful in case of a larger list of Color Schemes.
|
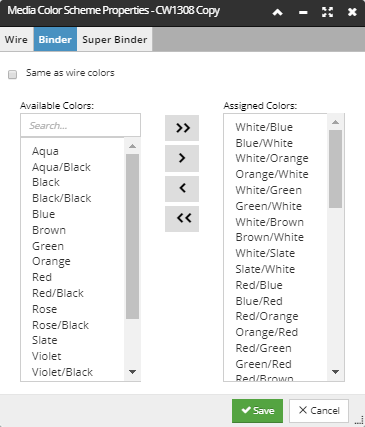
 Media Color Scheme Properties dialogThis dialog opens when viewing, editing or creating a new Color Scheme.It consists of three tabs (Wire, Binder, Super Binder), which have the following common elements:
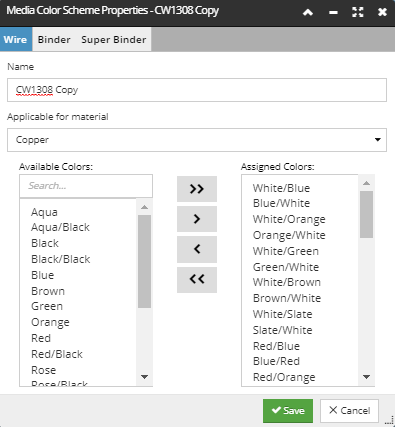
-
the Binder tab also contains a checkbox, which if checked, makes the Binder color scheme the same as the Wire color scheme:
-
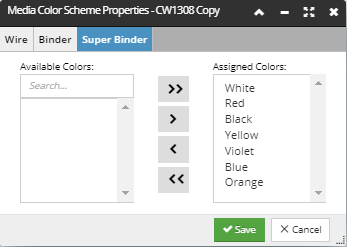
finally, the Super Binder tab doesn't show any additional elements. Furthermore, the Super Binder Color Scheme supports a reduced list of only 7 colors:
When creating custom Color Schemes, make sure to review and plan upfront. Keep in mind that when Bulk Adding Media, the Binder Color and the Color Code values are generated for the targeted number of Media based on
-
the selected Color Scheme, -
starting color code and Starting Binder Color, -
total number of Media and -
the number of Media per Binder Group.
|
 Starting NumberSpecifies the initial value of a numeric suffix, appended to the Media Name and incremented for each next Media instance, set to 1 by default.
|
 Media PrefixCan be any alphanumeric value, is not specified by default. The Starting Number (from the previous point) is added to this Media Prefix to form the full Media Name.
For example, if we set the following values:
the result of the Bulk Add operation would be the addition of 3 new Media entries to the Cable Type's Media Definition, named as follows:
|
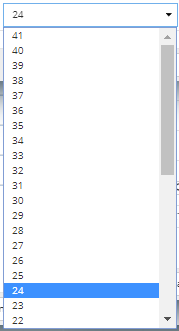
 GaugeThe Gauge field is not set by default, this is done by selecting one of the values from the drop-down list, representing the diameter/size of the Media. These values change based on the Media Material selection.
|
|
IMPORTANT: For optimal performance, use the Bulk Add feature for creating no more than 3500 Media at one time.
|
|