4.9.5.1. Configuring the Fiber Mountain Proxy Source
The prerequisites for configuring the Proxy Source is to check that the Fiber Mountain integration feature is licensed that the Library has Fiber Mountain equipment - please refer to the previous (parent) topic for details.
 Check the Fiber Mountain Integration Service statusInside the Global Console's Administration menu, under the → Integration Services observe FMIS status.
It should be green and Running, as shown below:
|
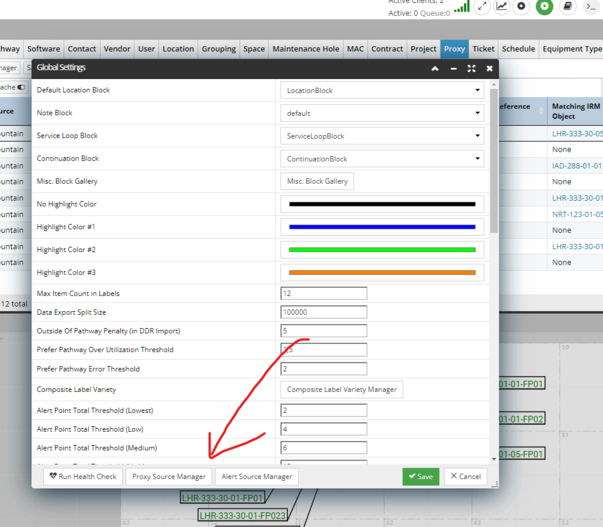
 Next open up web client and configure the Proxy Source Within the Global Settings, open the Proxy Source Manager:
In the Proxy Source Manager, click Edit against the latest FM Proxy Source (there might be several after some updates):
Next, within the main tab enter the web address of your dedicated Fiber Mountain server (shown as https://apddemo2.fibermountain.com in this example) into the Base URL and UI Base URL fields:
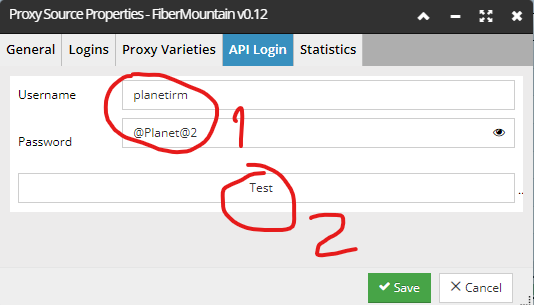
Save, and then reopen the dialog. Next, enter the username and password credentials in the API Login tab:
Click the Test button
-
You should see a green confirmation popup, after which just click Save. -
If you don’t see the green popup, then double check everything, if still red than the server machine may be down and it may be necessary to contact Fiber Mountain technical support.
|
|