Titleblock Manager
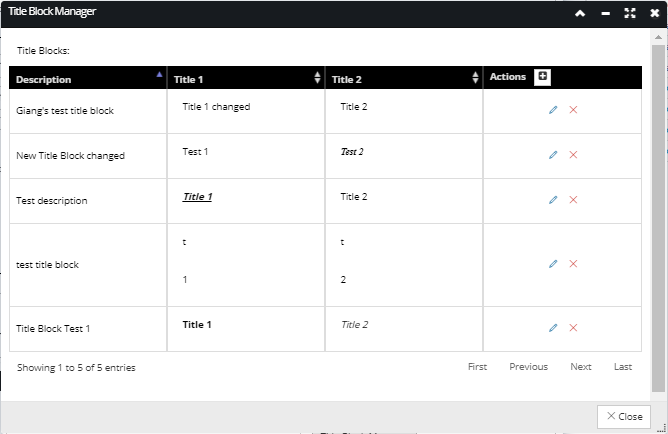
The Title Block Manager dialog, which lists all existing title blocks in a grid and enables the following:
-
adding a new Title Block by clicking on the + action button in the grid header
-
editing an existing Title Block by clicking on the pencil action button for the appropriate row entry
-
deleting an existing Title Block by clicking on the x action button for the appropriate row entry
-
sorting the column data by alphabetic order by clicking on a arrow icon in the appropriate column header
-
browsing through grid data by clicking on the pagination controls under the grid
 Note: The Title Block Editor dialog opens when a pencil Action button is clicked, as well as when the + Action button is clicked, and displayed the Title Block Editor dialog below.
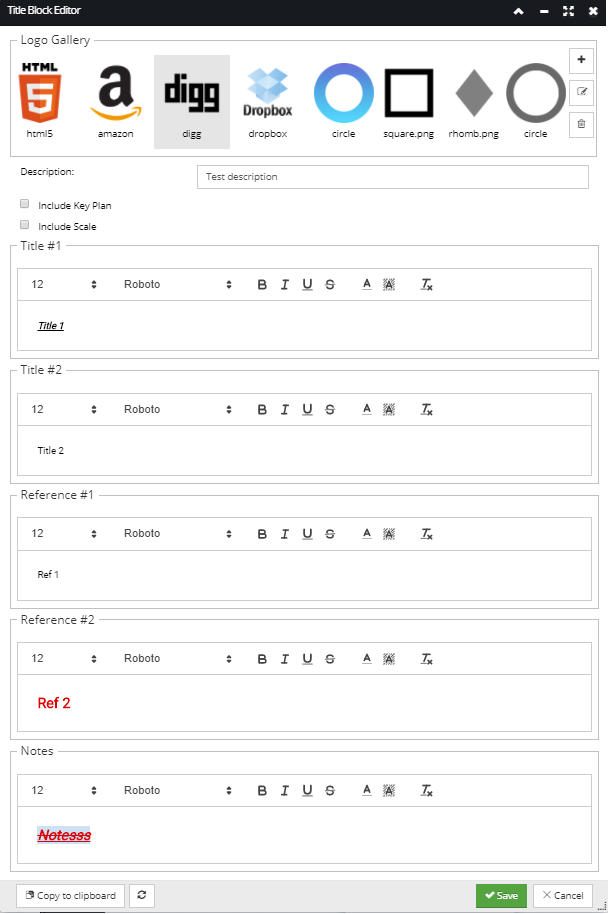 The top part of the Title Block Editor contains the Logo Gallery, which is very similar to other Block galleries, as it enables the following:
 -
selecting a logo from the Logo Gallery preview by clicking on one of the thumbnail images
-
uploading a new logo by clicking on the + button in the top-right corner of the Logo Gallery. This opens an additional sub-dialog (Upload new logo) which enables easy selection of an external image file from local storage and uploading it as a Logo in IRM.
-
Include Keyplan checkbox enables/disables including an automatically generated thumbnail of the Area that shows what portion of it is being printed
-
Include scale checkbox enables/disables including a small ruler that shows scale in the output.
-
The Title, References and Notes are edited in a (standard) rich text editor, that enables specifying text in the appropriate fields to display it on the output page, along with different text and font properties. The text is automatically wrapped based upon the margins setup for the page.Finally, all changes made in the Title Block Editor can be saved or discarded by click on the Save or Cancel buttons at the bottom, which close this sub-dialog.