Data Export Template Editor
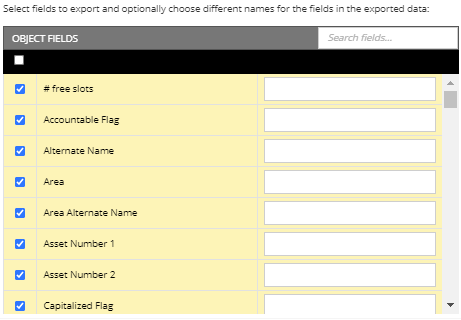
This opens the Data Export template editor is used to define the Object Types and column data to be exported when the Data Export Configuration is executed.
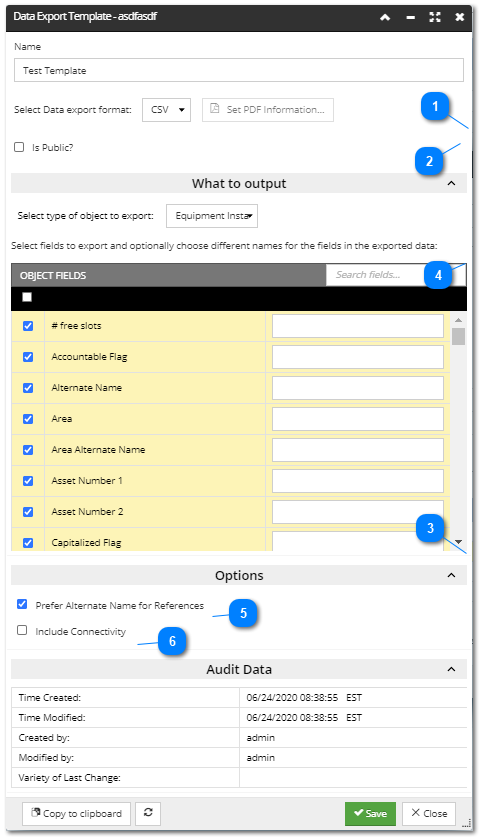
Specify the Data Export Template name, Format and sharing properties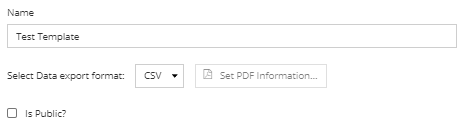 The Name for the new Data Export Template is entered directly under the first text field.
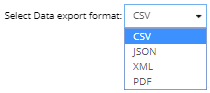
To set the Format of the exported data click on the Select data export format drop down menu, which displays the following values:
 In case the PDF format is selected, the Set PDF Information button is enabled -
Click on it opens the Set PDF Information dialog, which enables specifying different PDF-specific settings in the exported file:
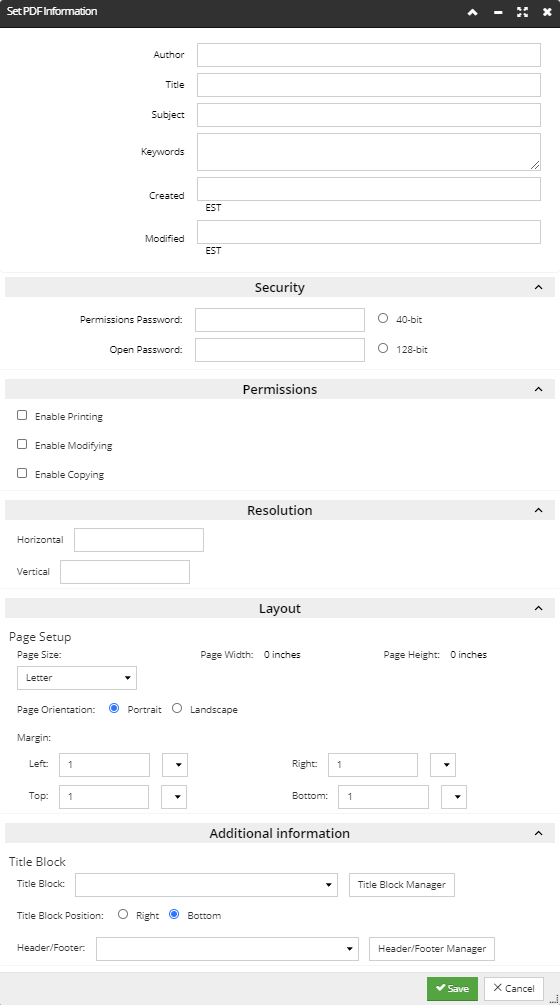 These properties are also specified in other types of Export that use the PDF format, including Area iiPDF, and Elevation iiPDF. Click the following link for more information - Data Export Template Editor.
Finally, the Is Public? property defines whether this Template is visible to other users. Simple click on it checks / un-checks it, that is, sets the Template as Public, or Private.
|
Select SuperCategory This is pulldown list allowing the user to specify which object Super Category to use for the Data Export Configuration.
|
Include ConnectivityCreate a separate Cable Export file showing Port and Cable Connectivity for the Equipment included in the Data Export Configuration.
|
Large Exports
If a DDR export operation includes more than 100 rows in the resulting spreadsheet, or creating the output is expected to take more than a few minutes, the operation is modified as follows:
-
the output CSV file is not produced for immediate saving. Instead, the user is notified that the operation is large and that the results will be made available later, in the Global Console Data Export Output Files. An empty "placeholder" file is created immediately, so that the user can see that something happened as a result of his export operation.
-
the export is broken up into separate CSV files of 100 rows each (except the last file, which contains whatever is left). The files are named part<nn>.csv, where <nn> is the 2-digit index number of the file, i.e. part01.csv, part02.csv, part03.csv, etc.
-
all of the CSV files are put into a zip file, which is named as described below
-
the zip file is sent to the Global Console download area, where it appears under a new root folder, called "DDR Export"
The value of the maximum number of rows after which the file gets split can be configured under the Global Settings:
The zip file name format is DDR_export_<superCat><date><time>, where:
<superCat> is the friendly name of the super category being exported (example: Equipment)
<date> is the YYYYMMDD integer date format (example: 20170925)
<time> is the HHMMSS integer time format (example 142800)
(note that time is included just to make the filename unique)