IRM supports importing and placing an external image file in the active Design World Area. Such objects can be then used to represent various objects such as tables, desks, and chairs, that IRM doesn’t have special logic for (“non-semantic rectangular drawing objects”).
The following are steps required to insert and resize an Image object in the Design World, which differs a bit from the previously covered examples.
Click the Create Image icon in the Design World toolbox
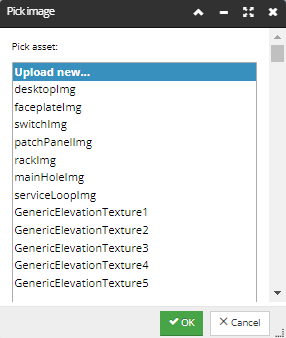
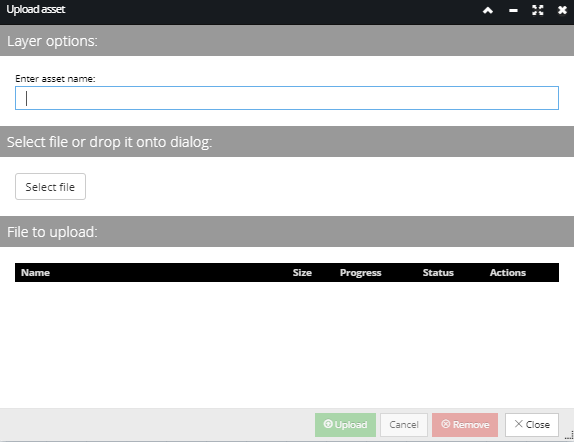
An additional Pick Image dialog displays listing all existing image files (assets). The selected image file can also be set as a background image simply by clicking the Background checkbox on top of the dialog. The first entry in the list is actually a button, Upload new. Clicking on it opens the Upload asset dialog (see next step).
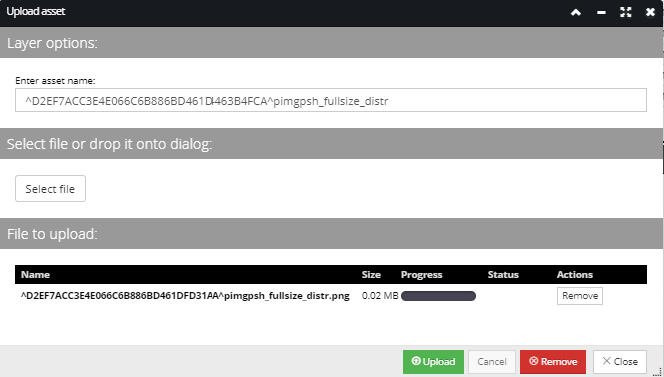
First, click on the Select file button, which opens standard browser file upload dialog. After selecting the file, its name displays in the Enter asset name field and in the File to upload grid. In case of adding a batch of files and in need of removing one of them additional Remove button enables it. Click on the Upload button animates the Progress bar, indicating the progress of the file upload, closes the dialog and brings back focus on the Design World and the newly imported image file attached to the mouse cursor (see the next step).