Equipment can be inserted into a Rack through the Rack Elevation dialog. The screenshot images and text below displays the use case of adding an existing Patch Panel instance (from Spares) into a Rack, starting from the Design World.
Select the Rack Elevation option from rack's context menu
A single left-click on the rack in the Design World selects it and right-click on the rack opens its context menu. Selecting Rack Elevation option opens the Rack Elevation dialog.
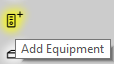
This is an alternative way to add equipment to the rack from the Rack Elevation interface (instead of step No.2). This button is located in the top-right corner of the Equipment grid. Clicking on it also opens Place Equipment sub-dialog.
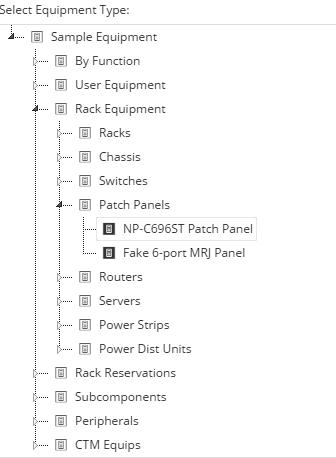
From the Equipment C&T tree in the Place Equipment sub-dialog, a click on an Equipment Category or Type displays the available equipment instances in the right-side of the Equipment Instances grid.
Clicking on a row entry in the Equipment Instances grid automatically checks the checkbox next to it, indicating it's selected. When at least one row is selected, the Place button is enabled.
Clicking on the Place button closes the sub-dialog and brings focus back on the main Rack Elevation dialog with the newly created equipment displayed in both Equipment grid and the Rack Design Editor. Clicking on the Cancel button closes the sub-dialog and brings focus back on the main Rack Elevation dialog without making any changes.
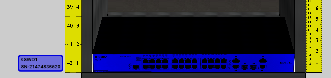
The newly created equipment is placed into a default location in the rack and is visible in both Equipment grid and the Rack Design Editor.
Clicking on an item in the Equips grid causes it to be highlighted it in the 3D view.
Note: In the rare cases of tightly-packed ports, the port icons are drawn as small as needed to make them fit. In the Web Client at least, any difficulty with legibility can be overcome simply by zooming in.