As mentioned in the Overview section, IRM Users (simply referred to as "Users" when the context is clear) refer to people that can login to the IRM software and should not be confused with the Users tab in the Web client which refer to persons that can be assigned to Configuration Items for Asset Management purposes.
The central place for viewing and defining User properties and access rights for each IRM User Account is the Users menu item (page) in the Global Console. It displays a detailed data grid listing all current User Accounts and their basic properties, as well as additional controls for their management. To review key concepts of User Accounts in IRM see on the following topic - User Accounts.
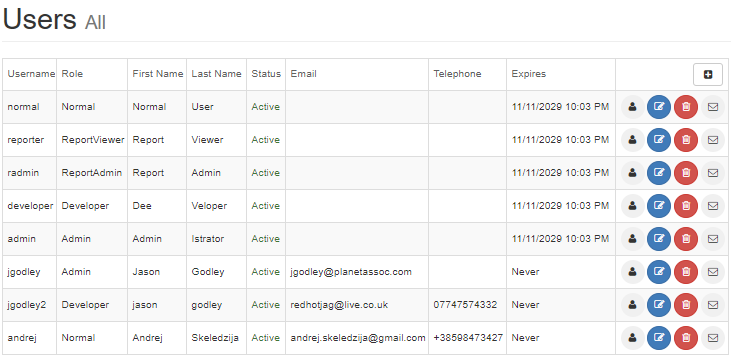
The following screenshot image displays an example Users Global Console page, while the text below explains its main properties:
Users grid
The Users grid displays all existing users in IRM, listing them in a data grid with their basic properties, like the Username, Role, First and Last Name, Status, and contact information, all of which are explained in more detail below.
In addition, this page contains different buttons, or controls, that enable the following actions:
Clicking on the toggle button activates / deactivates the User account. When an user account is marked as inactive, that account no longer counts against the number of users allowed by the license. It is still possible for the total numbers of Irm Users to exceed the license limits, because some of them are inactive and therefore not counted. Therefore, when an Admin goes to re-activate a User, the Global Console application checks that reactivating the User won't cause the appropriate license count to be exceeded. If the count would be exceeded, a pop-up dialog opens with the following warning: "This user account cannot be reactivated because doing so will exceed the number of licensed users. Please contact Planet Associates to upgrade your license.".
Clicking on the will allow a new user account to be created.
Clicking on the button will allow an existing User Account to be edited.
Clicking on the button deletes the User Account.
Clicking on the sends the login details to the User.
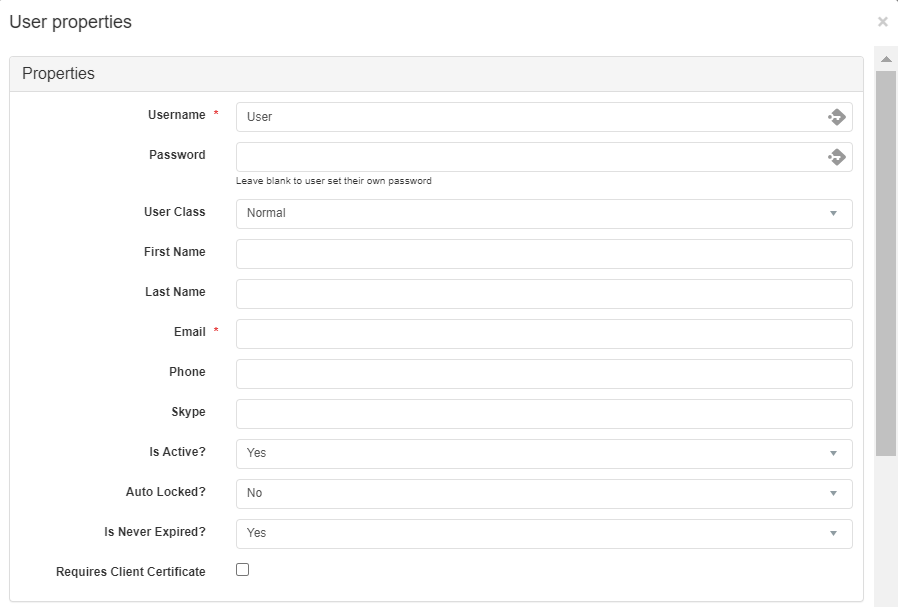
Is Active?: Boolean-type field -- if set to false, the User is locked out
Is Never Expired?: Boolean-type field -- if set to true, the selected user account will not automatically expire.
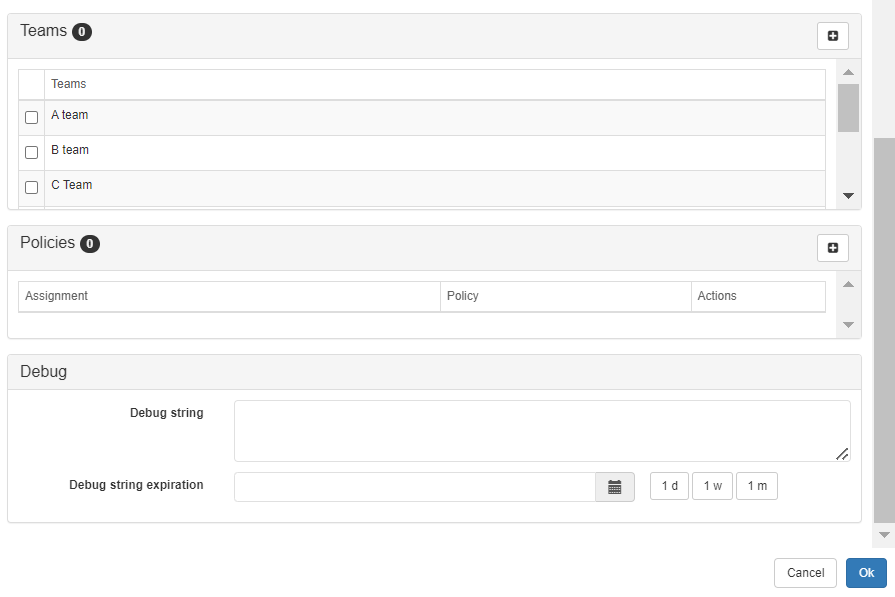
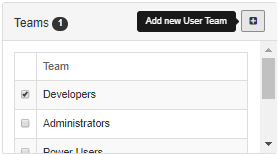
Teams - contains a checkbox list of all existing User Teams and enables simple assignment of the selected User to one of them by click on the checkbox next to the appropriate User Team name:
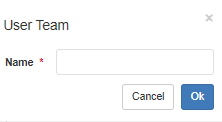
Another action available in this group is Adding a new User Team, which is enabled by click on the + button. This opens a pop-out sub-dialog on top of the page that enables quick creation of a new User Team by specifying its name and confirming the creation by clicking on the Ok button, as displayed in the screenshot image below:
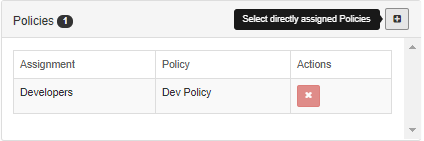
Policies - contains a simple data grid that lists all Policies, as well as the appropriate User Teams assigned to the selected User. Additional Action column enables un-assigning the Policy for the selected User by clicking the x Action button.
Clicking on the + button displays a Select Policies pop-out sub-dialog that enables quick assignment of existing Policies simply by clicking on the checkbox next to the appropriate Policy and confirming the selection by click on the Ok button, as displayed in the screenshot image below:
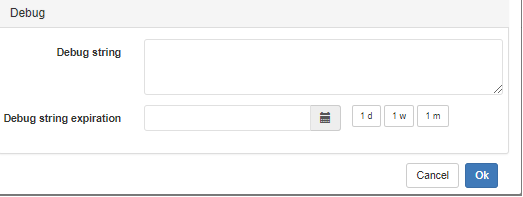
Debug - contains the following two fields, as displayed in the screenshot image below
Debug String text field which allows the Admin user to specify a debug string for a specific IRM User. Do not use this field unless directed by Planet technical support.
Debug String Expiration enables specifying the timeout for the string, either by specifying a date by clicking on the calendar icon that brings up a date picker, or setting it to 1 day / week / month by click on the appropriate buttons next to the date picker icon.