Create New BMC Change Request and link to IRM Ticket
This topic contains a step-by-step tutorial of how to create a new BMC Change Request and link it to an IRM Ticket, using the SmartIT application.
Login to BMC SmartIT using your BMC user credentials.
Next, click on the Create New main menu:
Select Change Request submenu
Select the Create from Scratch option
Click on the Normal option
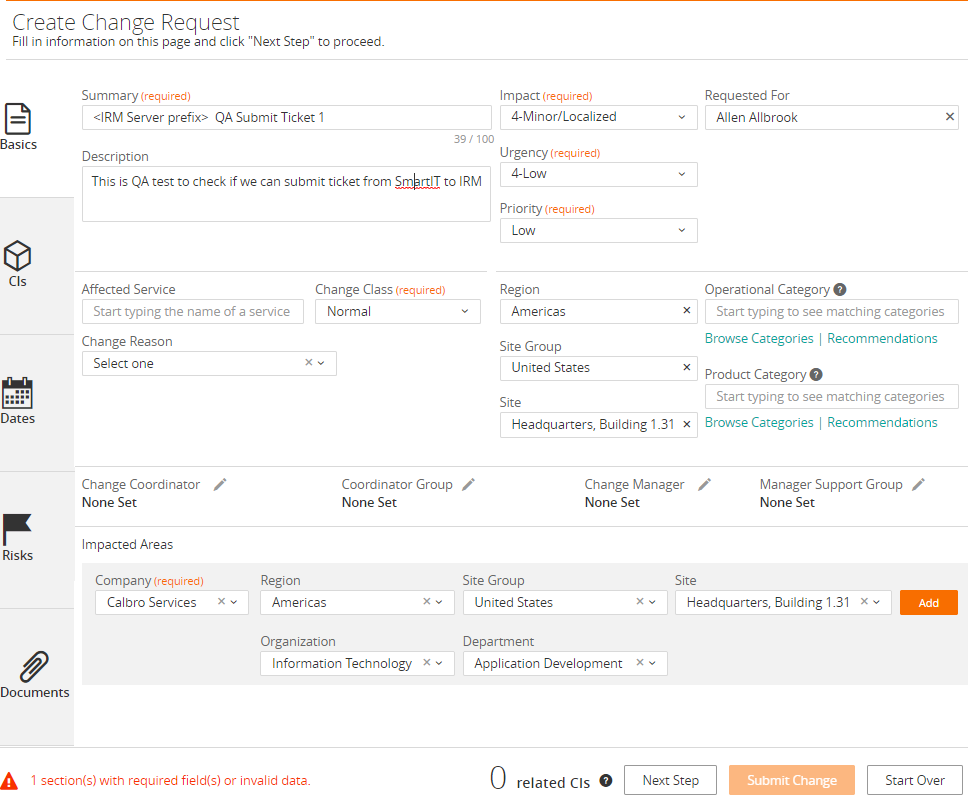
Complete the Basic, Dates and Risk sections and then click Submit to create the new BMC Change Request:
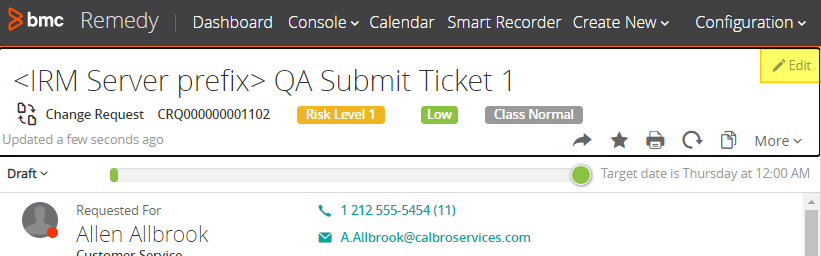
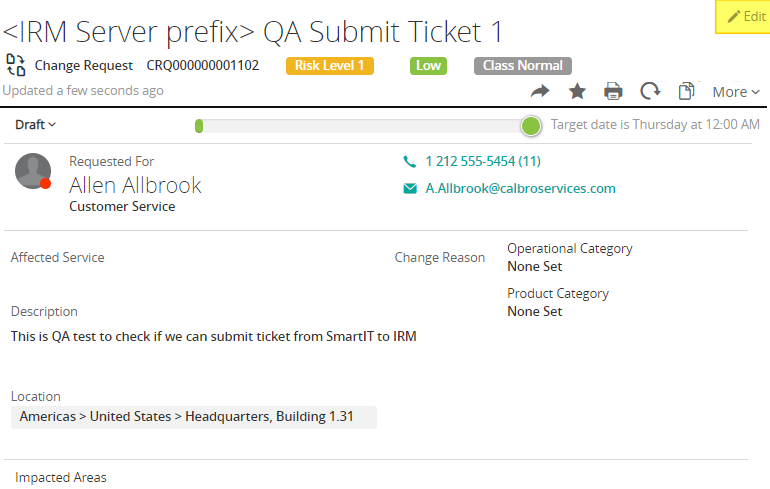
After creating the new BMC Change Request, edit the new Ticket by clicking on the highlighted Edit option in top right of screen:
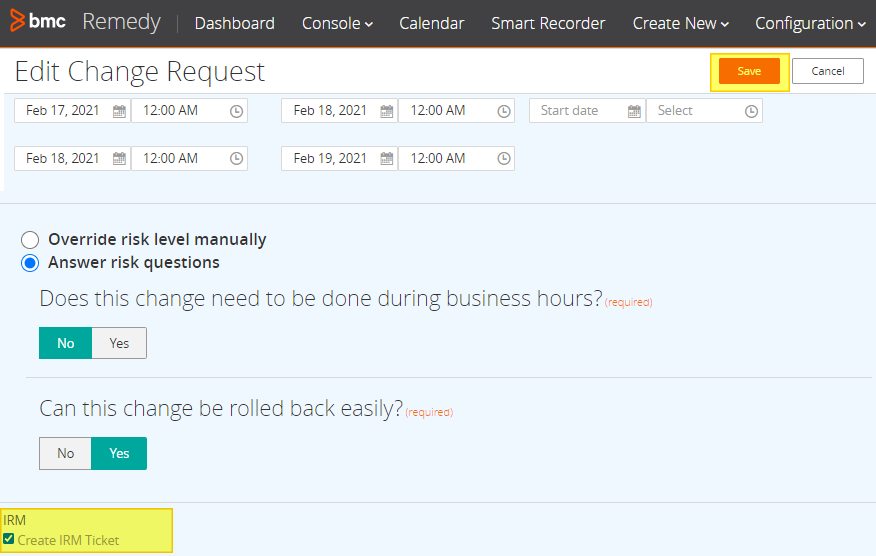
Next, create and associate the IRM Ticket with the Change Request, scroll down to the IRM section:
Check the Create IRM Ticket checkbox
Click on Save
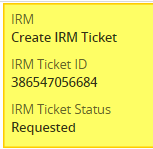
This will create new IRM ticket and assign an IRM ticket number to the Change Request.
Check that the IRM Ticket is assigned to Change Request:
Scroll down the ticket details and confirm IRM Ticket ID and IRM Ticket Status are set:
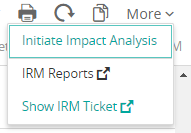
Open the IRM Ticket using the Show IRMTicket action:
Select the More menu in top right of ticket.
Select Show IRM Ticket sub menu.
If you are not already logged into your IRM instance, then you will need to enter your login name and password. After authenticating, IRM will open the Web Client and display the Ticket Properties dialog for the Ticket associated with Change Request. You can see the Ticket ID and External URL back pointer to the BMC system:
Click the back pointer copy button after External URL entry - . This will then open the Change Request in Smart IT proving that bi-directional linking is working and that the ticket API interface from BMC and from IRM is working as expected.
The associated Change Request is now displayed in Smart IT:
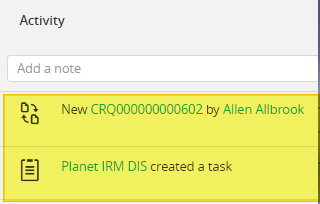
The Change Request Activity Log should show a Task entry named Planet IRM DIS:
That entry indicates that the Discovery Integration Service has created the IRM Task against the BMC Change Request. All future updates to the IRM Ticket will be logged in this associated Task Request.