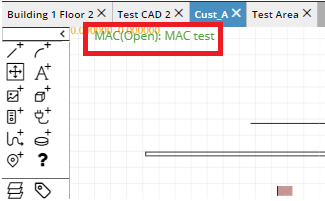
The MAC Manager dialog is a central place in the application for viewing all MAC objects in the Site and managing their state. The dialog is accessed from the Design World, by clicking on the MAC Status in the top left corner of the Design World screen - the green "MAC(Open): MAC test" label in the example:
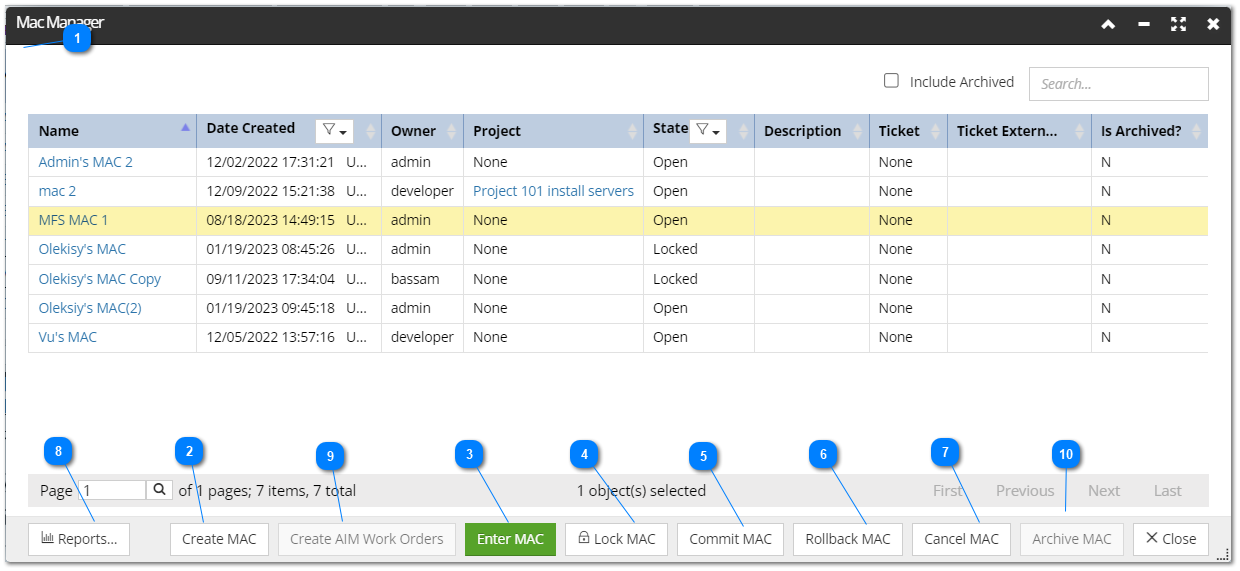
The MAC Status label is always located at that position and is displayed in colored font, depending on the status - green for active (opened), or gray for closed MACs. Click on it opens the MAC Manager dialog, which shows a data grid listing all MACs defined for this Site and their basic properties, as well as action buttons on the bottom that enable changing the State of the selected MAC :
In case an Active MAC has been clicked on to enter the dialog, the grid moves to that MAC entry and select it, like in the example above. This user convenience enables the user to easily find the desired MAC object, without having to search for it.
In other cases, the Quick Search box above the grid enables the user to conveniently filter the list by entering the name of the desired MAC in the text box (displayed on the screenshot below).
List of MACs
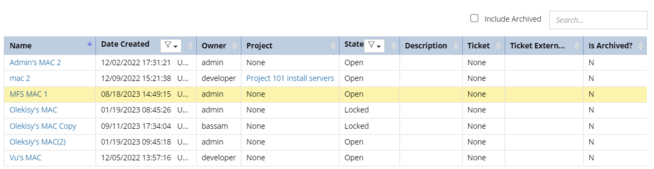
The main grid in the dialog displays the list of all public and active user's MACs with additional properties, such as their Name, Date Created, Owner IRM user, assigned Project, current State and short Description.
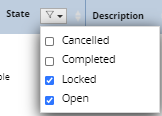
All column data can be sorted, while some columns have additional filters, represented by the funnel icon. Click on it icon opens a drop-down checkbox list of all available choices for the specified column. For example, the State column data can be filtered in such way:
Note that, by default, the MAC Manager does not include Committed or Cancelled MACs, as these are at the end of their workflow and cannot be re-used, so including them requires manually checking appropriate checkbox items.
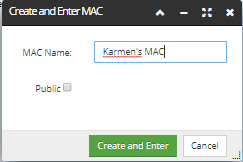
Clicking on this button opens the Create and Enter MAC pop-out dialog, as displayed in the screenshot image below, that enables specifying a name and Public / Private property for a new MAC.
The MAC Name is used to uniquely identify the MAC within the MAC system. This could be descriptive a name, or perhaps a reference to a Service Desk ticket number.
Check the Public checkbox if other users are required to record changes into the MAC object. If the MAC is not Public, then only the current user can see and log changes into the MAC.
Clicking on the Create and Enter button creates a new MAC and enters MAC mode with the newly created MAC.
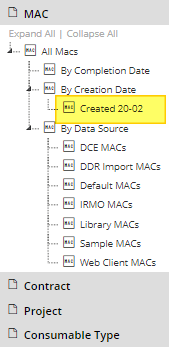
Note: When a MAC is created, it is automatically placed in a Category corresponding to the current calendar month and year date, i.e. "Created 20-02". If the required Category does not yet exist, it is automatically created as a child of the "By Creation Date" Category. This way of naming the Categories enables them to easily be sorted in date order (date order and name order are the same).
Clicking on this button enters MAC mode with the selected MAC and changes the appearance of the selected MAC in the grid, all changes will be recorded in to the selected MAC - and Design World -
The Enter MAC button changes to the Exit MAC button -
While the user operates under a MAC, all Design World changes will be recorded into that MAC's change log, and the changed objects are associated with the MAC.
IMPORTANT: Clicking on the Exit MAC button does not affect the MAC's state. It just means that any further changes made in IRM will no longer be recorded into the MAC. A user that exited MAC mode can re-enter it, simply by Joining a MAC from the list of currently open MACs.
The Lock MAC option is used to stop any further Design World changes from being recorded into the MAC object. It is effectively a status that reflects that no further design changes are required and that the MAC is now ready to be Committed, Rolled Back or Cancelled, depending on whether the design proceeds to installation or whether the proposed design is cancelled.
The following MAC Status is shown in the Design World for the locked MAC and its status is also show in in the MAC Editor -
IMPORTANT: When clicking on the Commit MAC button, the Commit process will start immediately without any further verification required by the user.
When a MAC is committed, all the frozen clones associated with the MAC are removed from the system and replaced with the Live clone(s) recorded in the Change Log. The MAC status is changed to Committed and it can no longer be used to record any further MAC operations. After committing the MAC, all objects in the MAC's Change Log will be processed and the MAC ticket will be closed. The MAC will be removed from the current active MAC and the its Status will return to Inactive, allowing the user to Join or Create a new MAC.
Note: When a MAC is completed, it is automatically placed in a Category corresponding to the current calendar month and year date, i.e. "Completed 19-05", similarly as for MAC Creation.
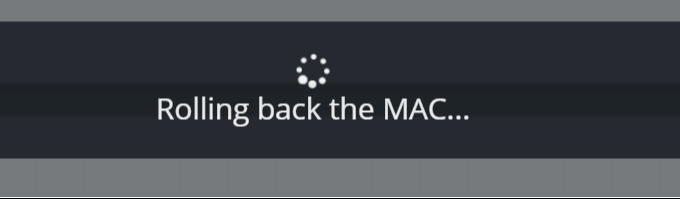
Clicking on the Rollback MAC button located in the top left corner of the Design World to rollback the current MAC and discard the changes made within it. The MAC itself remains available for recording additional changes. When the button is clicked, a full screen animation overlays the screen:
IMPORTANT: Click on the Rollback button will instantly start the MAC Rollback operation, and all recorded Change Log entries will be removed without any further verification by the user.
Discards all changes from the MAC and closes it, it is no longer possible to record any changes into a Cancelled MAC. This differs from the Rollback MAC operation (above), which reverts the MACs changes but does not destroy the MAC.
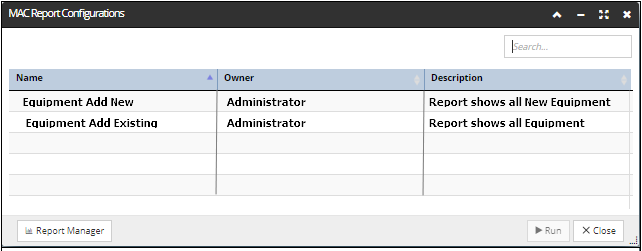
Opens the MAC Report Configurations dialog displayed in the screenshot below, which enables the user to view and run existing MAC Report Configurations for the selected MAC. Once a (single) Report Configuration is selected, the Run button is activated allowing the user to generate the Report Output.
This button is activated when the MAC includes at least one AIM-enabled Equipment object and the MAC is in the Locked state.
When you press the "Create AIM Work Orders" button, IRM creates a Task Request to represent the action that needs to be taken. The Task Request will also be used to track the work on the IRM side. If needed, the user can also create a Ticket in the Web Client to correspond with the Task Request. This allows for more detailed administration on the IRM side.