4.9.4.2. Proxy Source configuration
The first step in configuring the IRM-ServiceNow integration is setting up the ServiceNow Integration Service. This is done in IRM through the Proxy Source Manager dialog.
The main purpose of the dialog is to store configuration information for different sources of Proxies (recall that a Proxy in IRM is a representation of some object from an external system). This information can then be used directly by the Site Master or the Global Console, and can also be passed to the integration service applications as necessary (or retrieved by those applications, as the case may be). A Proxy Source contains configuration information used by an integration application, or other IRM components, as necessary, to make the integration work. Click on the highlighted link for more general information about Proxy Sources and Proxy objects in general.
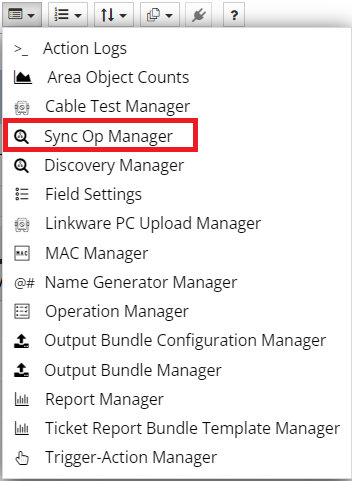
The Proxy Source Manager is available from the Sync Op Manager dialog, which is accessed from the Manager menu located in the main application screen toolbar:
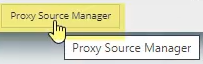
On the bottom-left corner of the the SyncOp Manager dialog, there is a button that opens the Proxy Source Manager dialog:
The Proxy Source Manager dialog shows a list of currently-specified Proxy Sources and the "ServiceNow" Proxy Source, which needs to be configured, among other actions, in order to set up the ServiceNow Integration Service. This can be done by clicking on the pencil action button next to the ServiceNow Proxy Source:

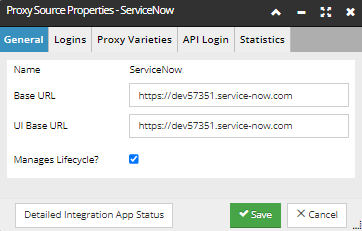
This opens the Proxy Source Properties dialog, which is organized into several tabs that group similar integration properties, such as General information, Login data, Proxy Varieties, and similar.
The configuration information available in this dialog is explained in detail in the designated subtopics under the Linkware Live integration section and under the BMC integration section, so please use those sections to learn the basics of that and related dialogs in IRM. This and related subtopics will focus on specific actions necessary to configure the ServiceNow Integration Service and, in terms of explaining the UI components in IRM, highlight only specific controls accessible to the admin users who will perform these actions.
General Tab
-
Enter the URL to your ServiceNow server in both the Base URL and UI Base URL fields.
-
Check Manages Lifecycle, only if lifecycle control is going to be managed by the Integration Service
 - opens a pop-out dialog displaying a simple data grid with details about the Integration Service status:
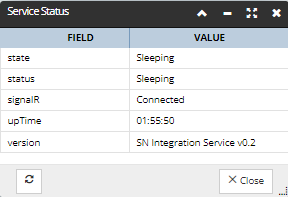
Logins Tab
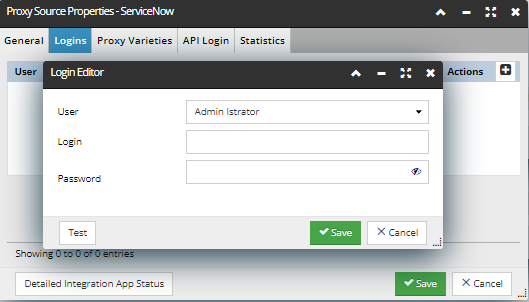
-
Allows an IRM User's account to be linked to a ServiceNow user account.
-
Click Test button to test Login to ServiceNow using the provided credentials
Proxy Varieties tab
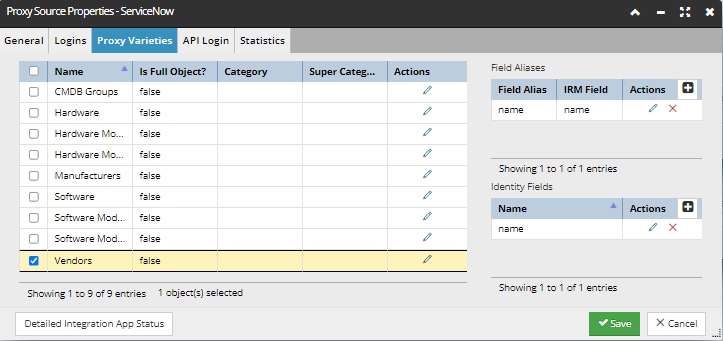
-
Identifies the points of integration with the ServiceNow System.
-
For each Proxy Variety this tab lists the key identifier fields for the Objects in the selected Variety.
-
Click on the Edit icon to pen the Proxy Variety editor which is used to specify correlation logic.
API Login tab
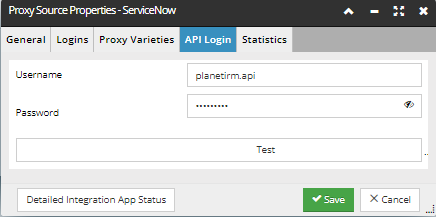
The API Login username and password must be the same as those entered when setting up the PlanetIRM API user account in ServiceNow
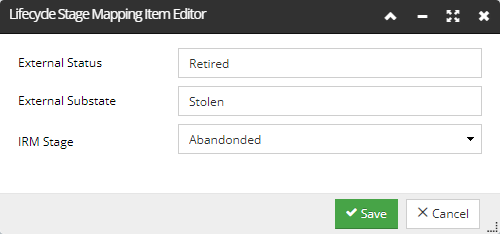
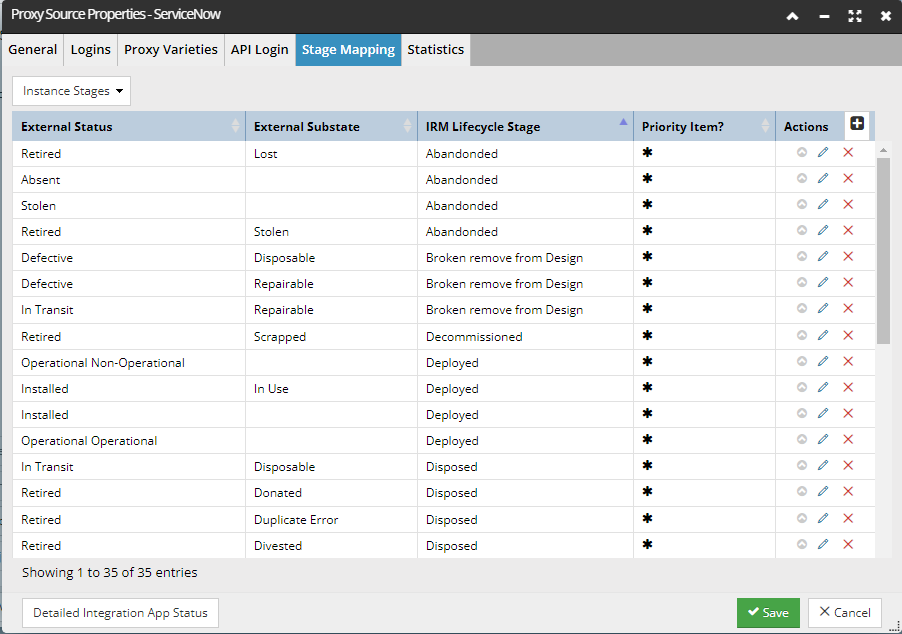
Stage Mapping tab
This tab allows the user to change and add entries to the mappings. It shows a single mapping table, with a drop-down menu above it that allows the user to choose whether the table lists Instance or Product Lifecycle Stages.
-
The column data shows the external lifecycle stage, followed by the optional substage and then the corresponding IRM Lifecycle Stage value.
-
Each row has action buttons to edit or remove the row, and there is a “+” button at the top of the table to allow a new row to be added.
-
Additionally, an External Status entry can be duplicated by click on the arrow action button. This relates to the additional Priority column, which indicates the primary mapping in case of duplicated External Stages mapped to multiple IRM Stages.
The row item Editor uses a dropdown for the IRM Lifecycle Stage, restricted to the appropriate values from Instance or Product Lifecycle Stage. The value for the external lifecycle stage can be specified by the user: