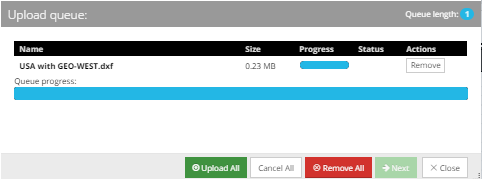
In this example a single file is selected - USA with GEO-WEST.dxf (as can be seen in previous two steps). Once the Upload All button is clicked, the selected file is put into a multipart form data object, following a specific method. The application validates the file as a supported CAD file and prepares the file to be imported in the Area by creating the set of temporary objects (Layer, Line and Block objects) needed for the following steps.
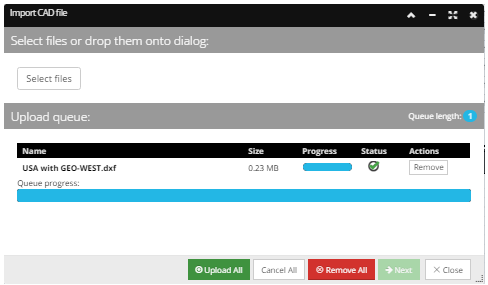
If these operations finish without an error the Next button is enabled, allowing the user to move to the second wizard step.
Additional details about the Upload queue section of the dialog
Upload All button uploads the selected file(s) to the server so that they can be imported into the selected Area. A Progress bar is provided for each row entry and the Queue progress bar at the bottom of the dialog displays the cumulative import progress.
Remove button is used to remove the file from the Queue and will stop the upload process.
Remove All button at the bottom of the dialog will stop the upload operation (if the Upload All button has already been clicked) and removes all files from the Upload queue.
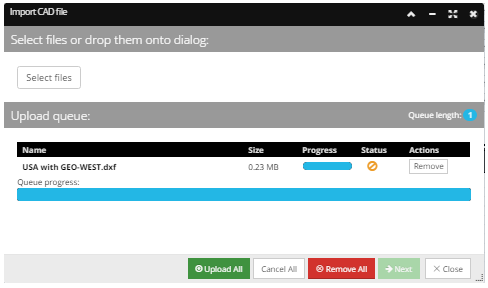
Cancel All button at the bottom of the dialog is enabled only once the import has started (if the Upload All button has already been clicked). Status column displays appropriate icons indicating the operation was canceled.
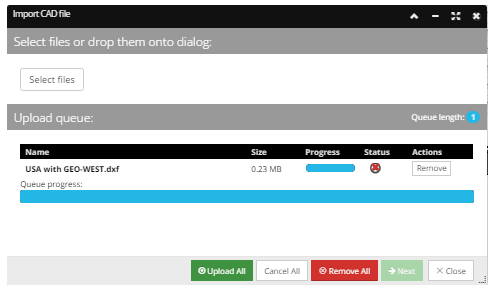
Status icon appears for each individual uploaded file and indicates state of the upload operation with the icon:
The Status Icon will indicate if the upload fails as shown in the following screenshot: