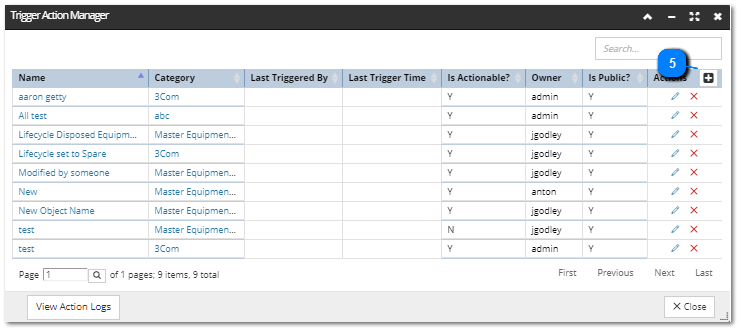
The central place for interacting with the Trigger Action mechanism is the Trigger Action Managerdialog, which :
lists all active Trigger Actions
shows basic properties for each Trigger Action, like the Name, Category, etc.
has action buttons for editing, deleting and adding a new Trigger Action
has a Quick Search filter for helping find a Trigger Action of interest
The following is a use case scenario of creating an Equipment Trigger Action with multiple conditions and multiple actions, and will provide detail about how the Trigger Action system can be used. The use case is based on creating an Equipment trigger that will take specified actions for all Rack Equipment in the "customer A" Area with the Fraction Occupied Total greater then 90% (meaning high space utilization). The scenario starts with the Trigger Action Manager open.
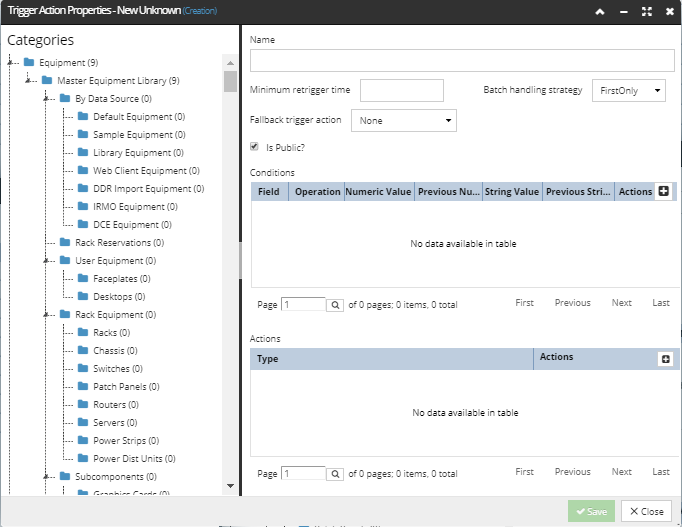
Click on the + action button to create a new Trigger Action
This opens a new instance of the Trigger Action Properties dialog:
Notice the following elements, which indicate a new Trigger Action object is being created:
the words "- New Unknown(Creation)" in the dialog title indicates new Trigger Action is being defined
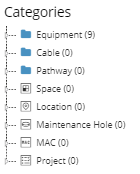
The first step in specifying a new Trigger Action is to select the target Category to which the Trigger Action applies. This is done by selecting a branch in the Categories and Type Tree on the left side of the dialog:
Notice the number in the parenthesis next to the Super Category or Category name - that indicates the number of existing Trigger Action objects for that Super Category or Category.
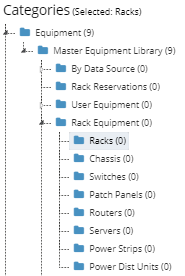
For this example, we'll select the Racks Category
Notice the (Selected: Racks) label next to the C&T tree "Categories" header.
The target Category selection automatically applies to available Conditions (see point 4).
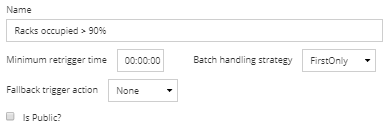
Name: is the descriptive name given to the Trigger Action and should be as descriptive as possible.
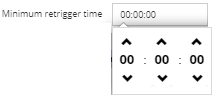
Minimum re-trigger time: specifies if there should be some tie delay before the trigger can be re-activated, generally this is left at 0. For this example, we want the object to re-trigger immediately, without any delays, which can be set simply by a single click on the time picker, which automatically sets the (default) zero value:
Batch handling strategy:
First Only (default):
This will allow only run the trigger on the first object in a batch that activates a Trigger Action to run Actions, while the rest of the batched objects are ignored. This is a safe way to handle batches, because even a very large batch will generate only a single action.
Process All:
This will run the trigger for each object in a batch resulting in multiple notifications/emails.
Consolidate:
This will run the trigger once in resulting in a single notification/email which can list all objects in the batch.
No Fallback trigger action is selected by default.
Finally, we want to make this a private object (not visible to other IRM Users), so we leave the Is Public? checkbox unchecked.
We want to trigger an action if a Rack in the "customer A" Area has its fraction Occupied Total increase to over 0.9, so the following Conditions need to be specified:
"Is a Rack" is true
"fraction Occupied Total" is greater than 0.9
"Area Alternate Name" is “customer A”
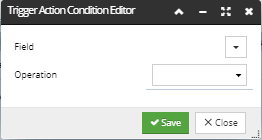
A Condition is set by clicking on the + action button in the Conditions grid, which opens the Trigger Action Condition Editor:
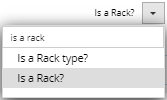
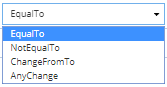
When opened, the dialog has nothing specified. The first step is to open the Field drop-down menu by click on it and select the appropriate field (using Quick Search makes it easier).
This enables the Operation drop-down menu - the Equal To Operation is selected, since we want the previously specified field to be of a specific value:
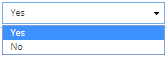
Finally, this enables additional Value drop-down field, from which we select Yes to complete the Condition:
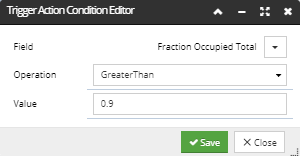
The second Condition is similarly specified, with the result as displayed below:
Notice that for this Condition we're evaluating a numeric value, hence the selected Operation is Greater Than and the Value is the threshold of 90%.
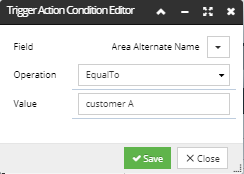
The final Condition is specified as follows:
Notice here we're evaluating a string value, which is why it needs to be specified explicitly (entering the value directly in the Value field).
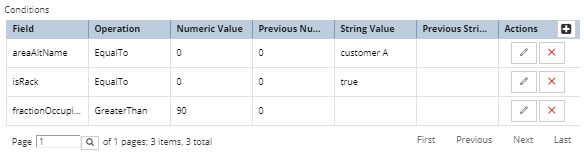
The resulting Conditions grid is populated with specified data as displayed below:
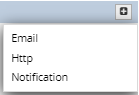
The first thing is to select the type of action by clicking on the + action button in the Actions grid, which opens a drop-down menu with the following choices:
For the purpose of this example, we will specify all three types of Actions. Selecting the Action opens a new dialog - Email / Http / Notification Action Editor.
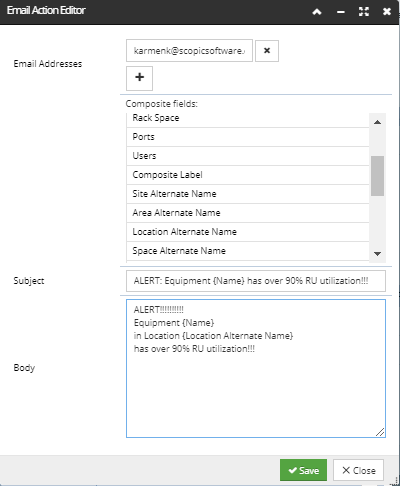
First, the Email Action is specified as follows:
a single email address (additional ones can be added by clicking on the + button, while added ones can be removed by clicking on the x button next to them),
a descriptive email Subject with the Name Composite field reference, added by a double click from the list above
the email Body with appropriate Composite field references embedded in the message. These references are of the same Super Category as the target Category of the object that activated the Trigger Action. They are listed right above the Subject field and added to by a double-click on desired Composite field reference. These reference values will be evaluated and actual values substituted when the Action is executed.
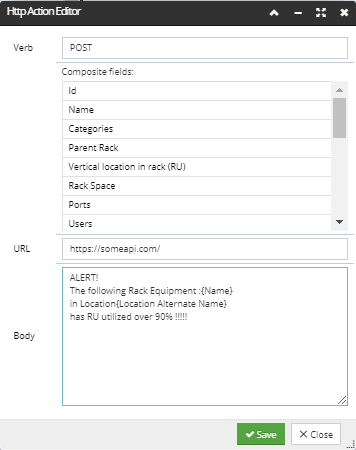
Second, the Http Action is specified as follows:
the POST verb (method)
the target URL
Body with appropriate Composite field references (these work the same way as for the email notification).
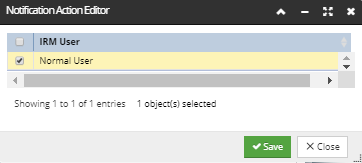
Finally, the Notification is specified simply by selecting the appropriate IRM User from the list by click on the checkbox next to it:
In case any Rack Equipment inside the selected Area has over 90% of Total RU utilization, the Trigger Action specified in this topic will activate and perform the following actions:
send email notification to the specified address
post an HTTP message to the specified REST API
send a Notification message to the indicated IRM User
IMPORTANT: The following is an explanation on how to get the body content in correct format and while not very friendly, it does allow to create XML templates in the body email:
When specifying email Action, in order to make special characters and accented letters show up on your pages, you should use a special set of codes called character entities, which you insert into your HTML code and which your browser will display as the corresponding symbols or characters you want.