This topic will cover a step-by-step use case scenario of adding an Equipment Label in Design World. The process of adding Labels is standard for all types of objects that enable labeling and the Label feature is previously explained in more detail in a dedicated topic - Object Labeling.
Select an Equipment object
Single left-click on the desired Equipment object in the Design World.
Select 'Create Label' option from the Equipment's context menu
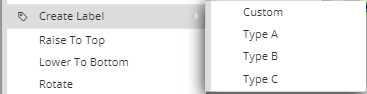
Right-click on the selected Equipment object to open its context menu. Selecting the Create Label option shows another submenu that basically displays the three pre-defined label types (Type A, B and C) and the option for specifying a custom format for the new Label.
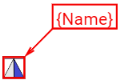
For this example, Type A is selected, which closes the context menu and displays the newly created Label object in Design World in red and anchored to the mouse cursor:
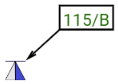
Notice in this stage the Label hasn't yet been populated with the appropriate value, it's just showing the selected composite string, which is the Name field, specified by the selected Type A Label set. Finally, positioning the label is confirmed with additional left click, after which the Label gets its final appearance:
Select 'Edit Label' option from the label's context menu
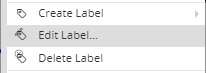
Single (left) click anywhere on the Equipment object or directly on the Label selects both the Equipment object and the Label. Right-click directly on the Label opens an additional couple of options for the Label itself that don't appear when only Equipment is selected - Edit Label... and Delete Label:
Selecting the Edit Label... option closes the context menu and opens the Label Properties dialog, explained in next point in more details.
Edit Composite String properties in the Label Editor
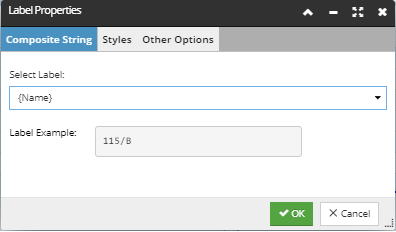
The Composite String tab enables editing the selected Composite String by either selecting another pre-defined Label set, or specifying a Custom one. The selected Composite String - Name is displayed as selected in the Select Label drop-down menu, while the Label Example field displays the exact value of the label for the selected field.
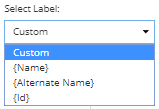
Clicking on the drop-down menu displays other pre-defined Label sets and the options for specifying a custom Label:
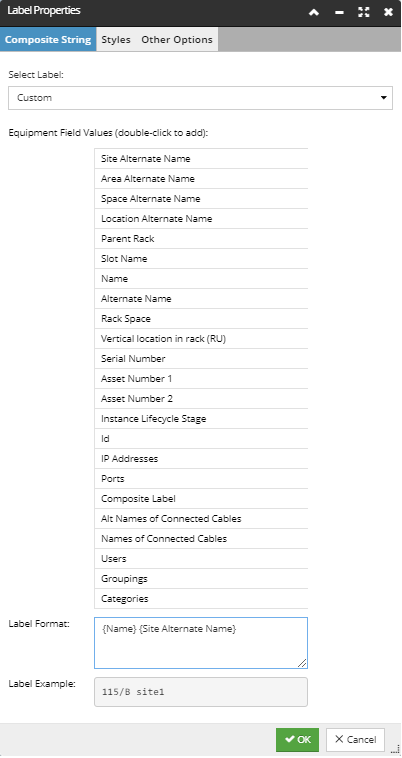
If selected, in addition to the drop-down menu and the Label Example, the dialog loads additional elements:
the list of all Equipment Field available to be added as a Composite String, double-click on a field from this list will directly add (append) the field in the Label Format specification
Label Format, which displays the Composite Strings selected for the custom label format and can be directly edited (inline)
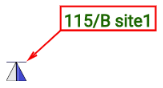
In this example, a custom Label format is specified as a combination of the Name and Site Alternate Name fields, which generate the "115/B site1" string.
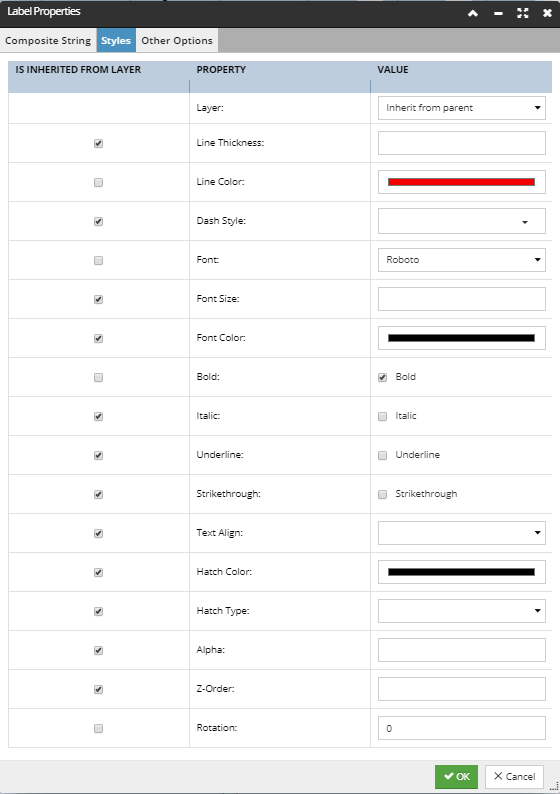
The Styles tab displays multiple style properties and enables editing them. All properties can be set to be inherited from the Layer in which the Label's parent Equipment object is currently located - this can be done by click on the checkbox next to the appropriate property. The screenshot above shows an example of some properties being changed. If the property is changed, the checkbox is automatically unchecked, indicating the property is changed. All changes can be saved click on the "Save" button.
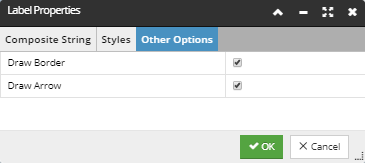
The Other Options tab displays a couple of checkbox options that enable or disable drawing a border around the Label text and drawing the arrow pointing from the Label text to the object it refers to.