4.3.10.3. Insert and route Pathway in Design World
This sub-topic covers the use case of inserting and routing a Pathway object.
This operation is done in the Design World, with the addition of several sub-dialogs that enable setting basic properties of the newly inserted Pathway object:
Click "Create Pathway" button
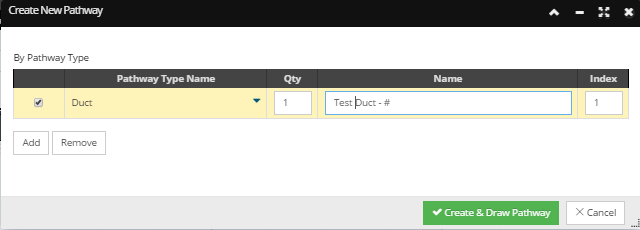
Click on the Create Pathway button in the Design World toolbar opens the Create New Pathway sub-dialog:
This sub-dialog enables choosing the type and quantity of Pathways to be created, and setting a format and initial number for their naming, which will be discussed in more detail in the following steps.
Click on the arrow icon under the Pathway Type Name column opens the Add Pathway dialog, which displays a list of Pathway Types:
Click on a Pathway Type (Duct in this example) enables the OK button, which closes the sub-dialog and brings the Create New Pathway dialog back in focus with the Pathway Type Name field populated.
Type a name format, which is any set of alphanumeric characters where any contiguous sequence of the special symbol "#" gets replaced by the current numeric index value and any contiguous sequence of the special symbol "@" is replaced by the current alphabetic index value (see Index field in the following step). The number of contiguous "#" symbols indicates how many digits are generated, with leading 0's preceded as necessary, and the number of contiguous "@" symbols indicates how many letters are generated, with leading spaces preceded as necessary.
For example, the "Pathway-###" name format, with Quantity=3 and Index= 4, means that three Pathway instances would be generated, named: "Pathway-004", "Pathway-005", and "Pathway-006".
Note: If the user attempts to manually create an object with a duplicate name or rename an object with a name that already exists, a dialog opens that explains that another object with the same name already exists and provides a hyperlink to that object. The new object creation or rename operation fails.
Initial value for a numeric value that is auto-incremented when multiple Pathway instances of the same Pathway Type are created. This value replaces any contiguous sequence of "#" in the name format value, to generate the name of the Pathway entry, after which the Index value will be incremented.
For example, if Name = "Pathway-###" and Index = 4, the first added Pathway entry will be named "Pathway-004", the second will be named "Pathway-005", etc.
Click on the checkbox next to the appropriate Pathway entry to temporarily enable / disable a given Pathway entry. This means that Pathway entry will not be added during a Pathway insert and route operation.
Clicking on the Add button under thegrid creates a new empty row in the grid. The Remove button is enabled only if a row entry is selected. Clicking on it removes the selected row entry.
Clicking on the Create & Draw Pathway button sets all values previously selected, closes the Create New Pathway dialog and brings the Design World back in focus, ready to draw the created Pathway(s).
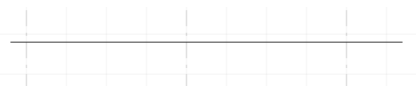
Pathway(s) can be routed as preferred by simply left-clicking along the desired route. A single left click on the Design World canvas sets the starting point of the new Pathway:
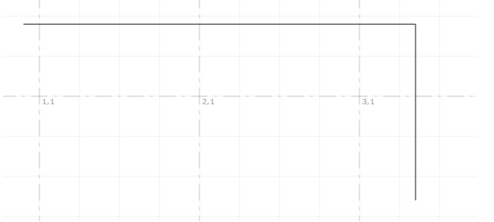
The second left click sets the second point of the new Pathway and so on:
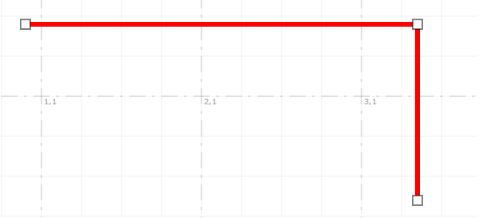
The Pathway drawing process is completed when the left mouse button is double-clicked. The newly created Pathway object is drawn and displayed in "selected mode", displaying all lines and their connection points:
Once a Pathway exists in an Area, it can be selected, which will show all associated routing vertices.
As for Cables, additional options are enabled for Pathway vertices:
Move Existing Vertex - modify an existing vertex point by clicking on the Vertex and moving it to new position.
Delete Existing Vertex - remove a vertex from the route by moving the cursor to the relevant Vertex point and select Delete Vertex from the context menu.
Add Vertex - by using the Re-route context menu option, which allows the user to re-specify the route between the existing defined endpoints of the pathway.
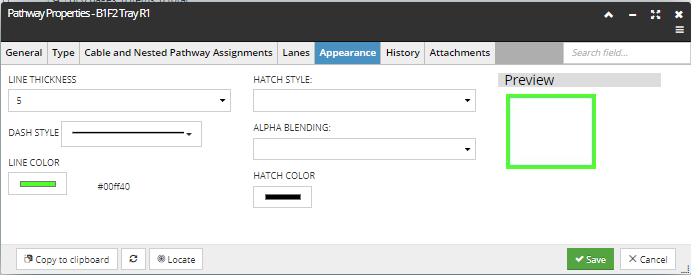
Finally, the Appearance tab enables managing Pathway's visual representation in Design World. The tab is similar to the Drawing tab in the Style Editor subdialog of the Layer Manager, containing a set of Line properties and Hatch properties, with the Preview section. These properties directly affect the look of the Pathway lines in Design World.