The primary feature of a Maintenance Hole in IRM is that it offers a Butterfly Diagram, or Butterfly View dialog, which is a commonly-used schematic diagram that display the Maintenance Hole from a top - down view. The term Butterfly Diagram comes from the fact that the sides of the Maintenance Hole are folded down from the normally vertical orientation to the horizontal orientation depicted in the diagram, in a manner reminiscent of how a butterfly's wings spread out.
The Butterfly Diagram is a separate dialog that can be accessed
via the button on the bottom of the Maintenance Hole Properties dialog,
or Maintenance Hole's context menu option from in the Design World,
or Maintenance Hole's context menu option from the Object Grid.
The Butterfly Diagram enables the following features:
view and manage (i.e., create, edit, delete) Walls, Ducts and Cables
view nested Pathways and Cables in a tree - view
manage (i.e., create, edit, delete) Notes
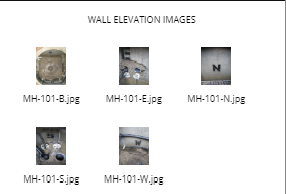
view Wall Elevation images
manage view of the left and right panels
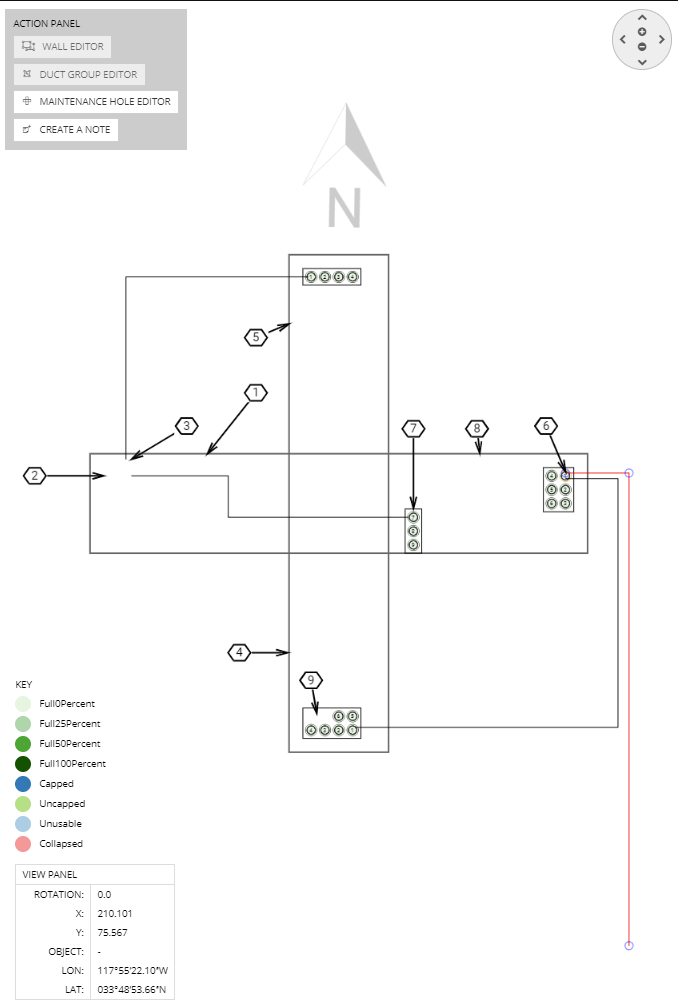
The following screenshot image displays an example Butterfly Diagram of a Maintenance Hole, while the following text briefly explains its main sections, with appropriate links to related topics that explain certain features in more detail.
Maintenance Hole name label
The name of the Maintenance Hole is displayed in the title of the Butterfly Diagram dialog.
The Butterfly Diagram consists of 3 main parts - the left and right panel and the central Butterfly diagram.
The left and right panels can be:
resized - by click and dragging their border horizontally
collapsed - by click on the vertical scroll bar on their border -
The following 3 elements are contained in the left-side panel - Notes, Nested Pathways and Cables and Equipment panels.
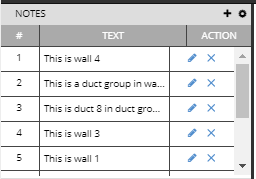
Notes panel
This panel consists a grid that lists all Notes in the Butterfly Diagram, along with additional action buttons and controls that enable adding, editing and deleting notes. More information regarding features enabled by this panel and connection with the central butterfly diagram are explained in the following sub-section - Using Notes in Butterfly Diagram.
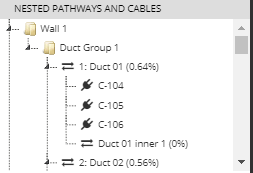
Displays all Wall, Duct Group, Pathway and Cable objects that the selected Maintenance Hole contains and that are displayed in the central drawing in the Butterfly Diagram.
The selection of all these different objects also selects them in the central drawing, and it's done in the following way:
When selecting a Duct the selection should pulse in the butterfly layout
When selecting an innerduct it should highlight the parent duct in the butterfly layout by pulsing the selection.
More information regarding features enabled by this panel and connection with the central butterfly diagram are explained in the following sub-section - Managing Cables and Ducts in Butterfly Diagram.
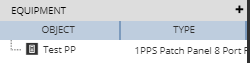
Displays all Equipment and any child Equipment objects that the selected Maintenance Hole contains and that are displayed in the central drawing in the Butterfly Diagram. More information regarding features enabled by this panel and their connection to the central Butterfly Diagram are explained in the following sub-section - Managing Equipment in Butterfly Diagram.
The central panel displays a butterfly diagram which is a commonly-used schematic diagram that display the Maintenance Hole with its walls, ducts and cables from a top-down perspective. It also contains additional controls and information in the Action Panel, the View Panel, and the Pan / Zoom control. All controls and additional information regarding features enabled by this panel and connection with other panels are explained in the following sub-section - Using the central Butterfly panel.
This panel shows a thumbnail gallery of images associated with the Maintenance Hole -- most often these are pictures of the Maintenance Hole itself and its walls. A full-sized image can be viewed by clicking the thumbnail to open the image in a new browser tab. Inside the Wall Properties dialog there is the ability to assign an attached image to that Wall (as explained in the following sub-topic - Using the central Butterfly panel).
When a Wall is selected, whether in the Nested Pathway and Cables tree, or the central Butterfly Diagram, the appropriate image in the attachment list on the right side of the dialog is also selected, making it easy to see which photograph is associated with each Wall.