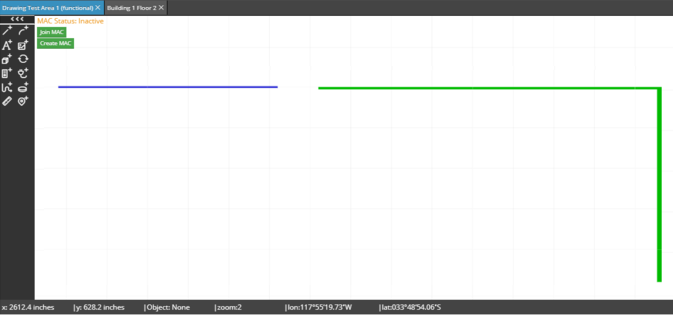
Select the Cable in the Area, then click and drag the one of the cable endpoints onto a point along the Ducts Pathway route. A sub-dialog will open offering the additional options shown in the screenshot above. If Route through option is selected, an additional sub-menu opens displaying all the Pathway objects and their child Pathways available for selection. In this example, a single Test Duct 1 Pathway with no child Pathways is selected.
Tip: to route the cable to the selected point in the Area without assigning it to a Pathway route then select the Use this point option.
Important: The option to route a cable over an existing Pathway can be accessed when inserting a cable or after the cable has been inserted.
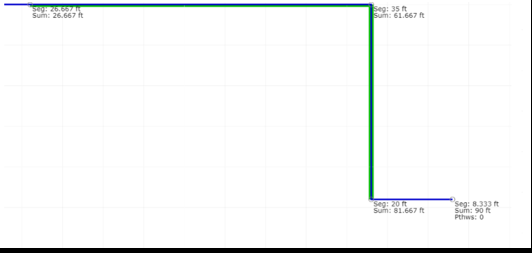
Once the Route through option and the Pathway instance are selected, the Cable is routed from the endpoint nearest to the selected point, or the starting point, through the whole length of the selected Duct, exiting the Pathway out through the other endpoint, or the exit point. The Cable route can be continued by placing the cursor on the desired point and a single-click. If the user double-clicks rather than single-click, the cable route is terminated at that point. In this example, a point to the right of the Pathway exit point is selected as the end point for the Cable route, as displayed in the screenshot above.