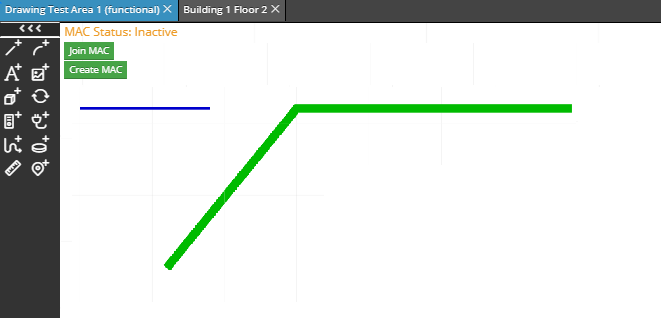
IRM enables auto-routing of Cables over existing Tray Pathway objects in the Design World simply by continuing a Cable route onto the Pathway and selecting the appropriate context menu option. The following images and text explain the use cases involved in routing a Cable in an Area containing Pathways, using the Tray Pathway instance created as described in the use case in topic Insert and route Pathway in Design World
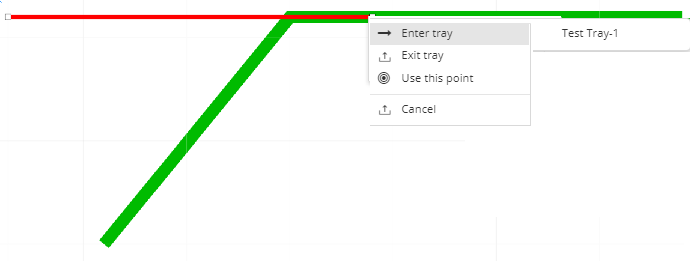
Once a new vertex is added to a Cable and the new cable route vertex lies somewhere along the Pathway's route, an additional sub-dialog opens, offering the additional options shown in the screenshot above. If the Enter Tray option is selected, an additional sub-menu opens displaying all the Tray Pathway objects and their child Pathways in additional sub-menus available for selection. In this example, a single Test Tray1 Pathway with no child Pathways is selected. This initiates routing over the Tray.
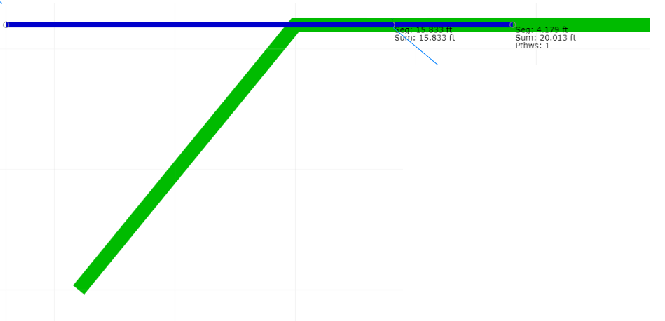
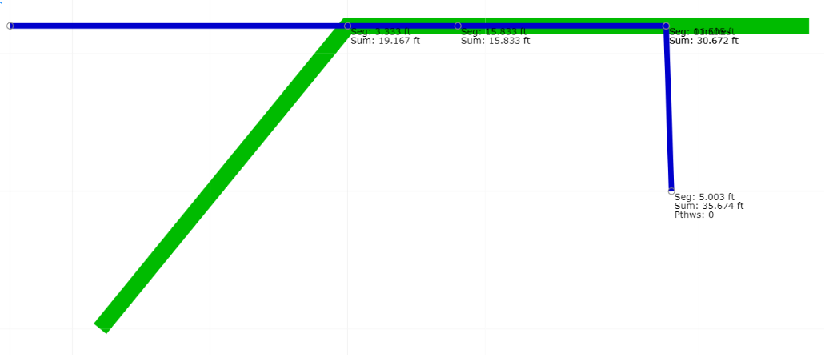
Once the Enter Tray option and the Pathway instance are selected, the Cable is routed from where it entered the Tray, or the starting point, through the length of one of Tray's lines simply by placing the cursor on the desired point.
Important: While extending the route, if the user double-clicks rather than single-clicks, the route is terminated at that point.
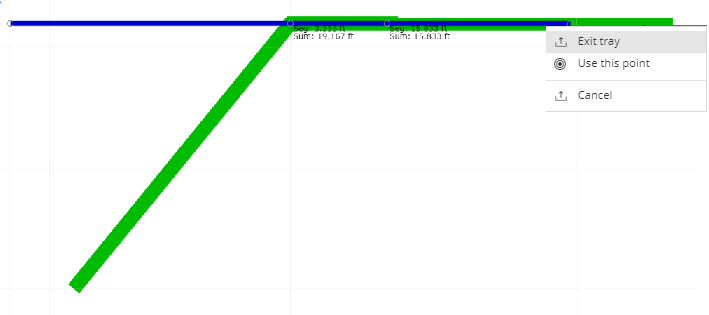
Tray Pathways are different from Duct Pathways in one specific detail - a Cable routed through a Tray can exit it and continue the route elsewhere at any point along the Tray, while a Cable routed through a Duct is routed through the whole length of the Duct and exits only at the Duct's endpoint. In this example, a Cable is routed along 3/4 length of the Pathway's segment, and a single-click on the desired position opens a pop-out dialog displaying the option to exit the Tray. If Exit tray is selected, the Cable route can be continued outside the Tray, starting from the point where Exit tray was selected.
Important: The Cable will be automatically routed over all connected Tray segments between the point of entry and selected point of exit on the tray route.
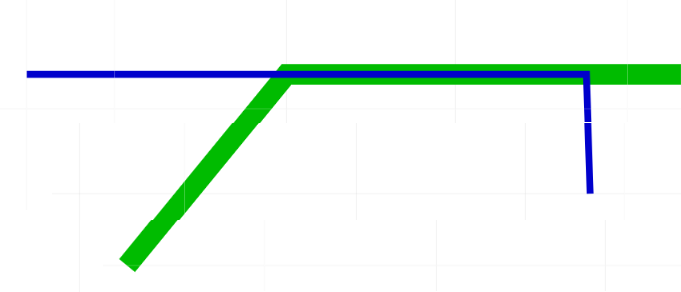
Once the Exit tray option is selected, routing of the Cable inside the Tray is terminated at the specified point and is continued outside the Tray. From that point, the Cable route can be continued further simply by placing the cursor on the desired point and click. While extending the route, if the user double-clicks prior to Exiting the Tray the cable endpoint will be left in the Tray object. However, if the user Selects the Exit Tray option, the route can be continued using single-clicks and then specify the cable route endpoint by double-click.
In this example shown, a point below the Pathway exit point is selected as the endpoint for the Cable route.
Use the Tray route for one section of a Cable route
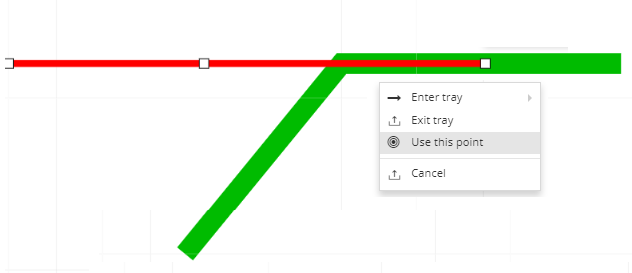
The Use this point option is used when routing cable, that follows a similar route to tray or duct but is not actually contained in the tray or duct instance. The Pathway is ignored and the Cable is routed from the previous point directly to the clicked point. This is the IRM equivalent of running a Cable to that point in space without entering the Tray, i.e., by going just over top or underneath the Tray.
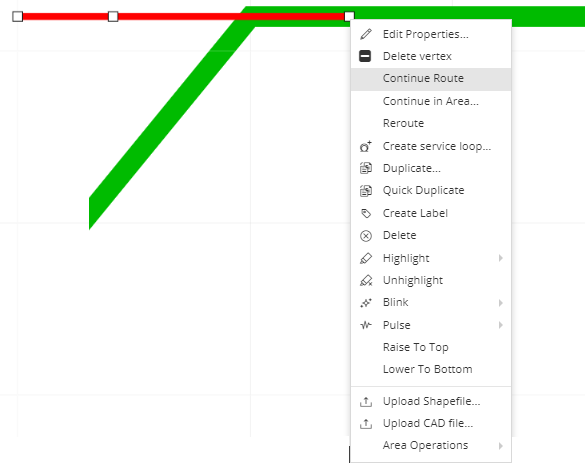
The previous step could be the final one in the Cable routing process, but in order to show additional possibilities, the routing will continue. This is achieved by an additional right-click on the second Cable endpoint, which opens Cable context menu, with the Continue Route option. If this option is selected, the Cable goes back into routing mode and the Cable route is continued from that endpoint to somewhere else in the Design World.
The Cable route is continued outside the Tray route, simply by placing the cursor on desired point and clicking. If a point is double-click while in the Cable route mode, Cable routing is terminated. In this example, a point below the Pathway is selected as the endpoint for the Cable route, as displayed in the screenshot above.